Assembling the Basic Kit
In this section, we will walk you through how to assemble the basic kit - effectively making it an Assembled kit.
Parts
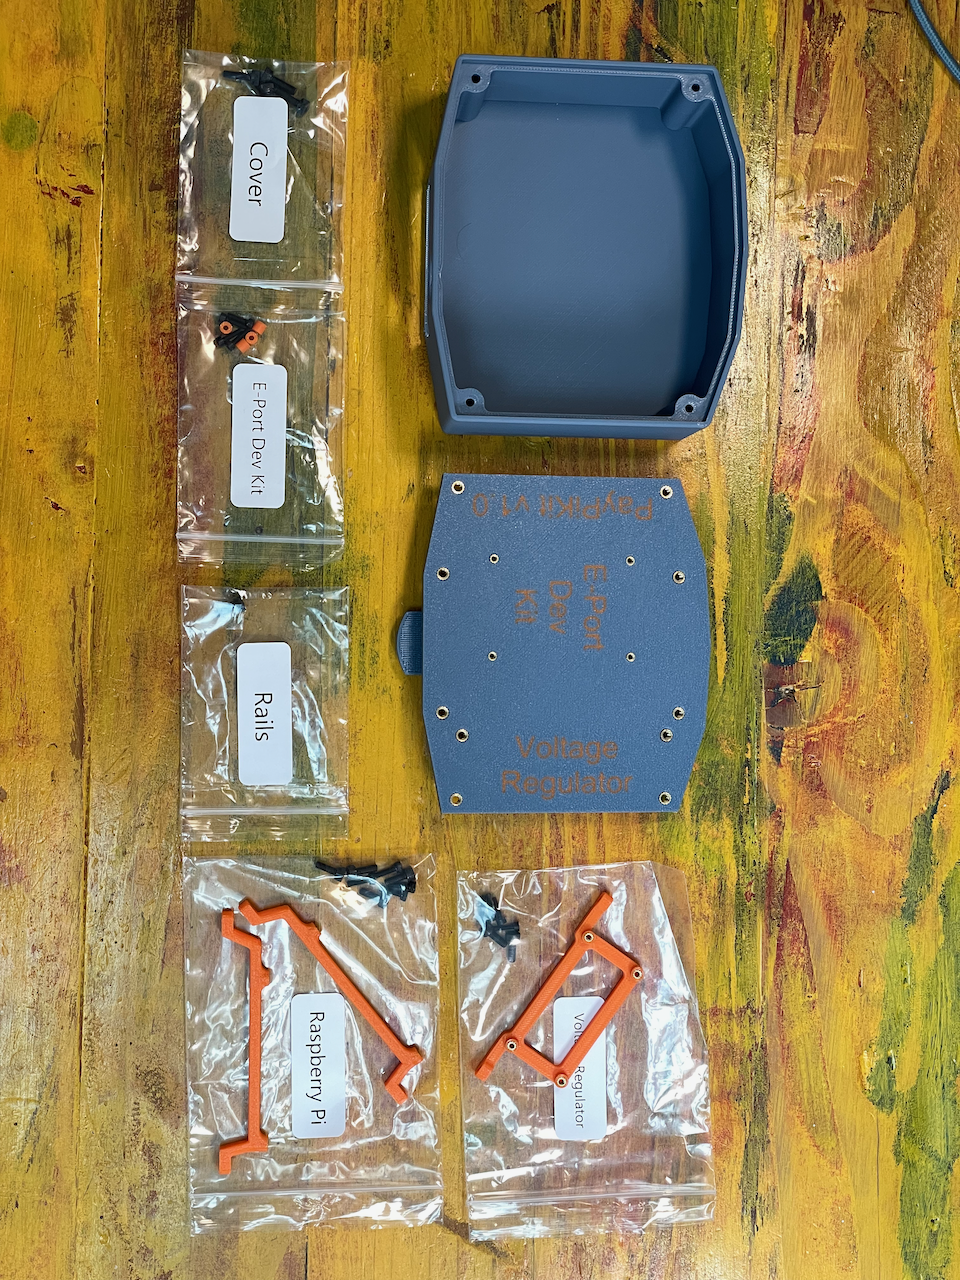
First, make sure you have all these parts in your kit.
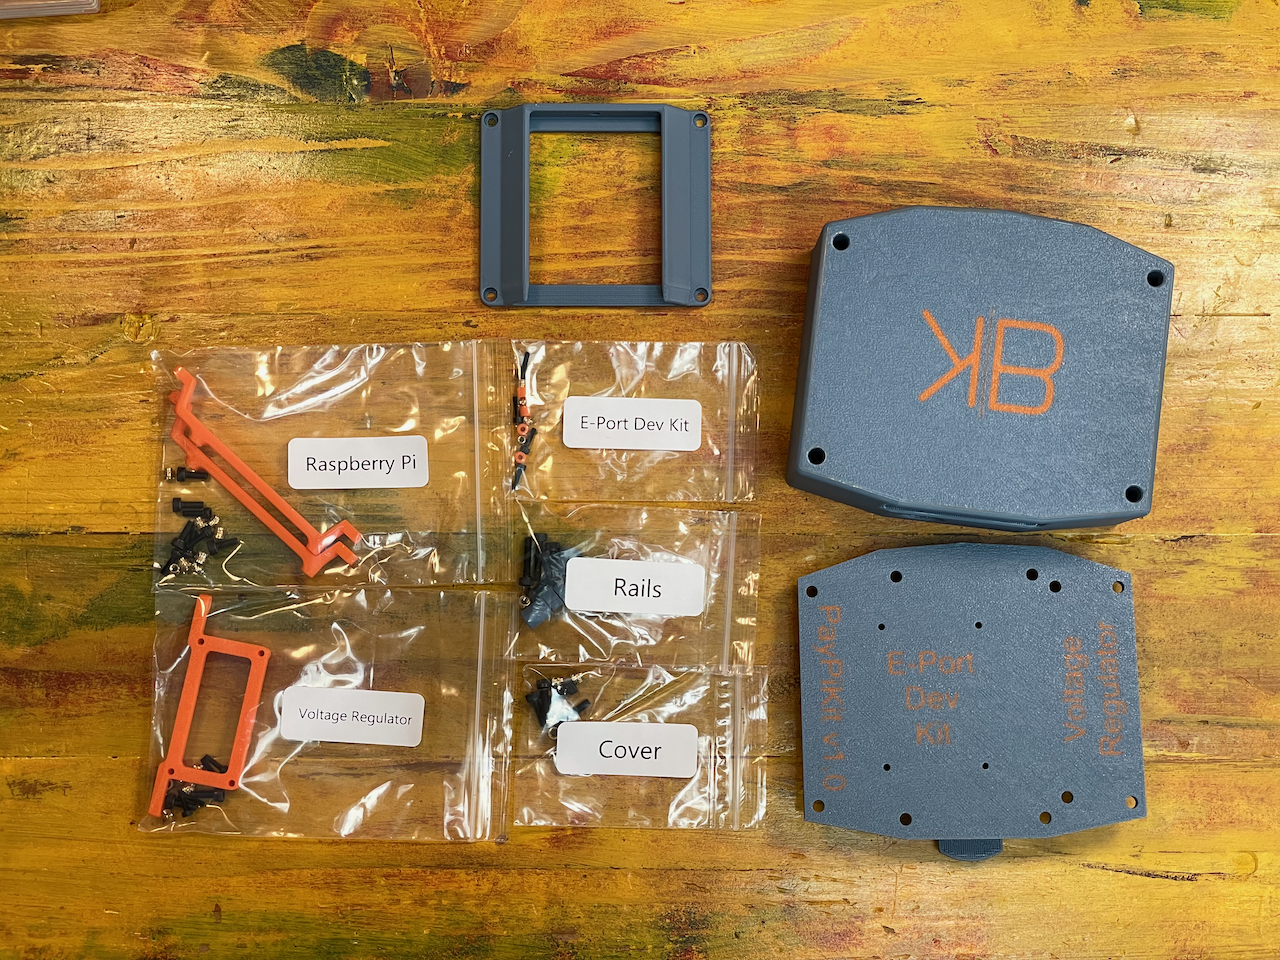
They will come in bags per function so you can easily make sure you have it all.
Large Parts
| Picture | Part Name | Description | Qty |
|---|---|---|---|
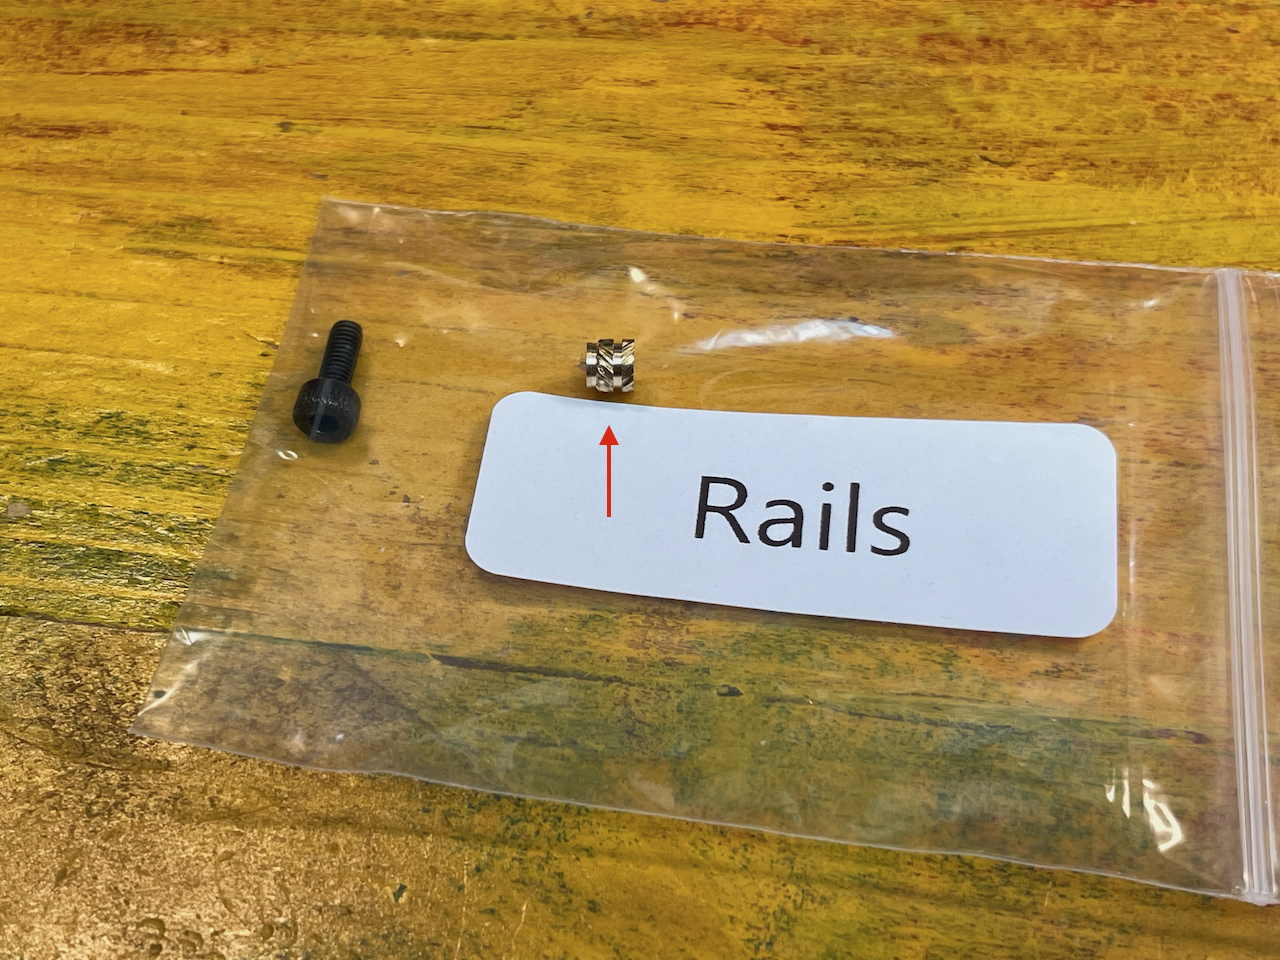
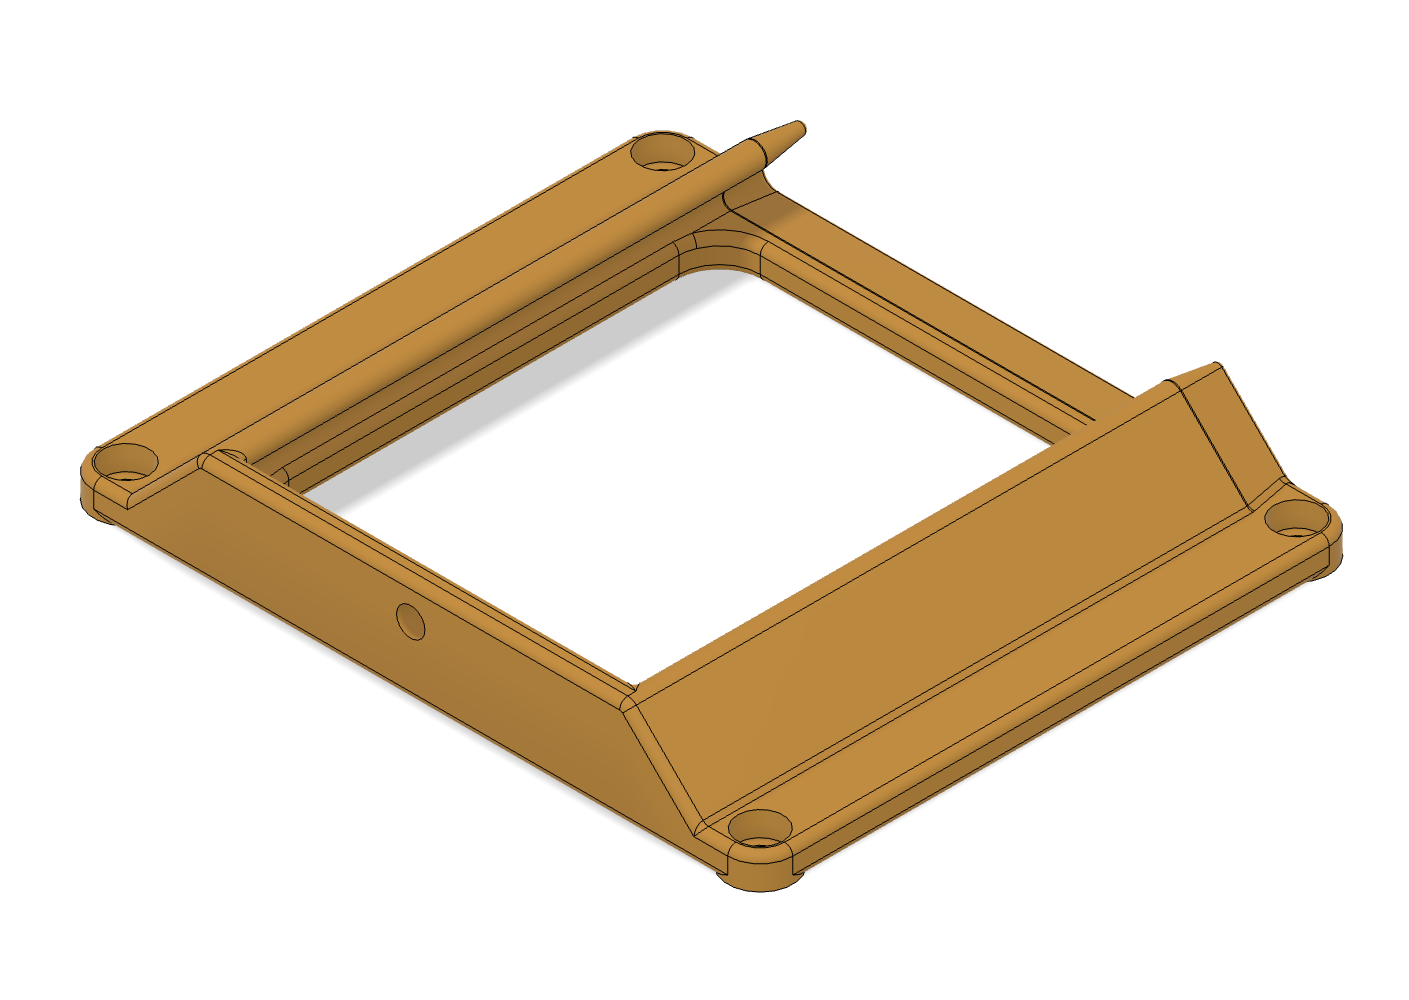 |
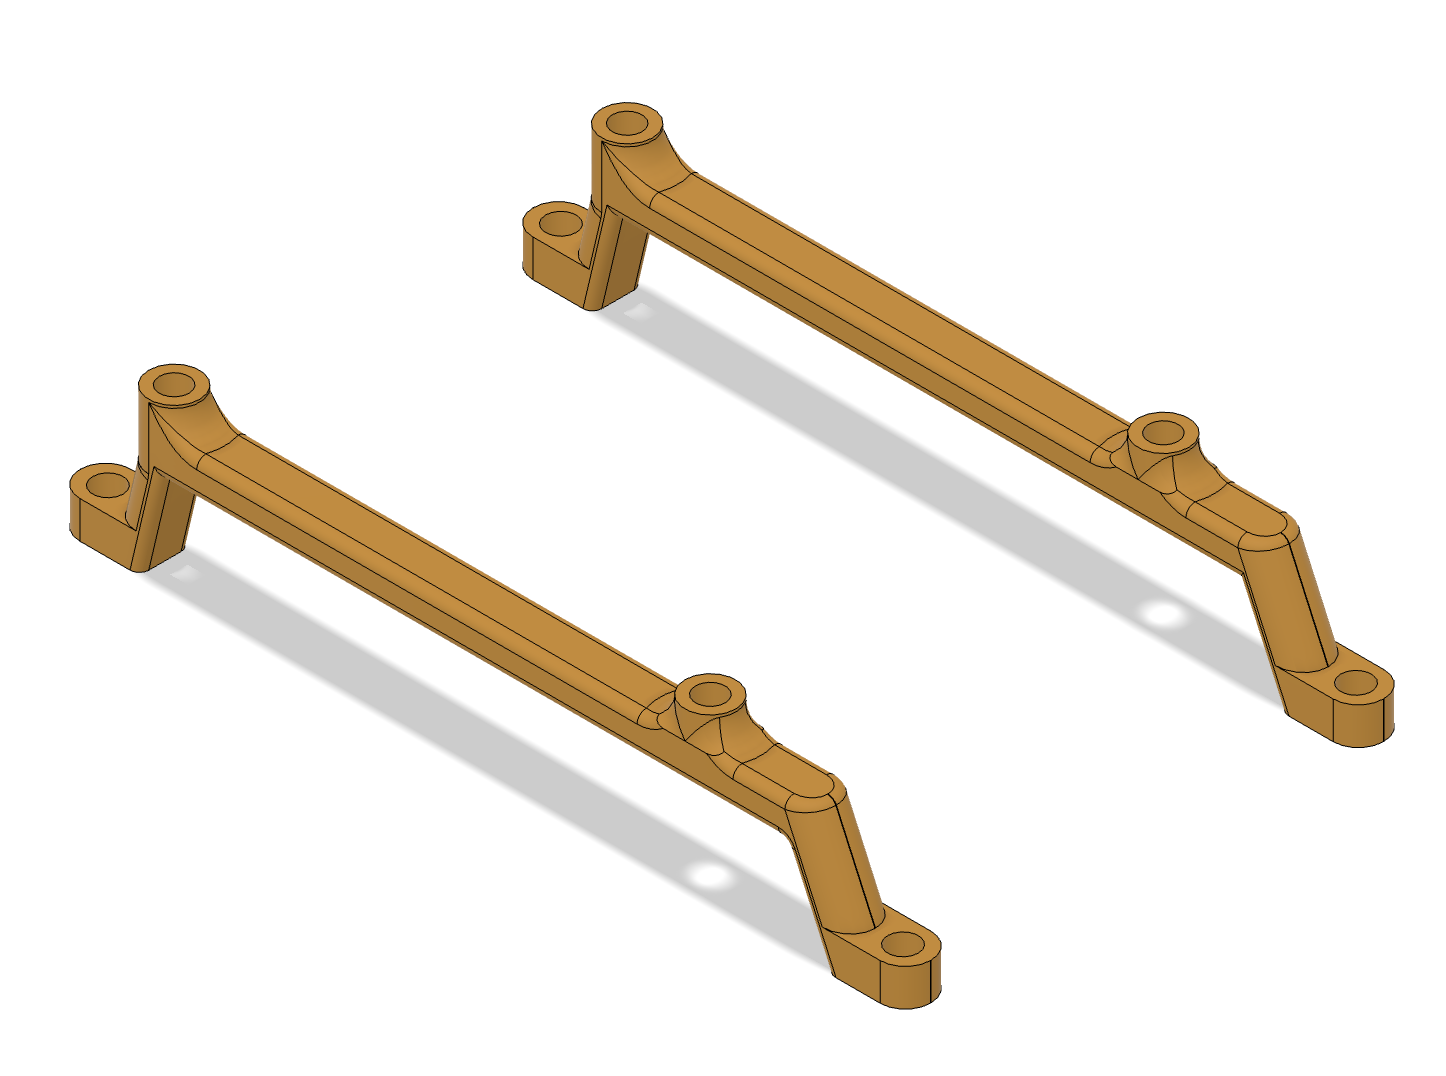
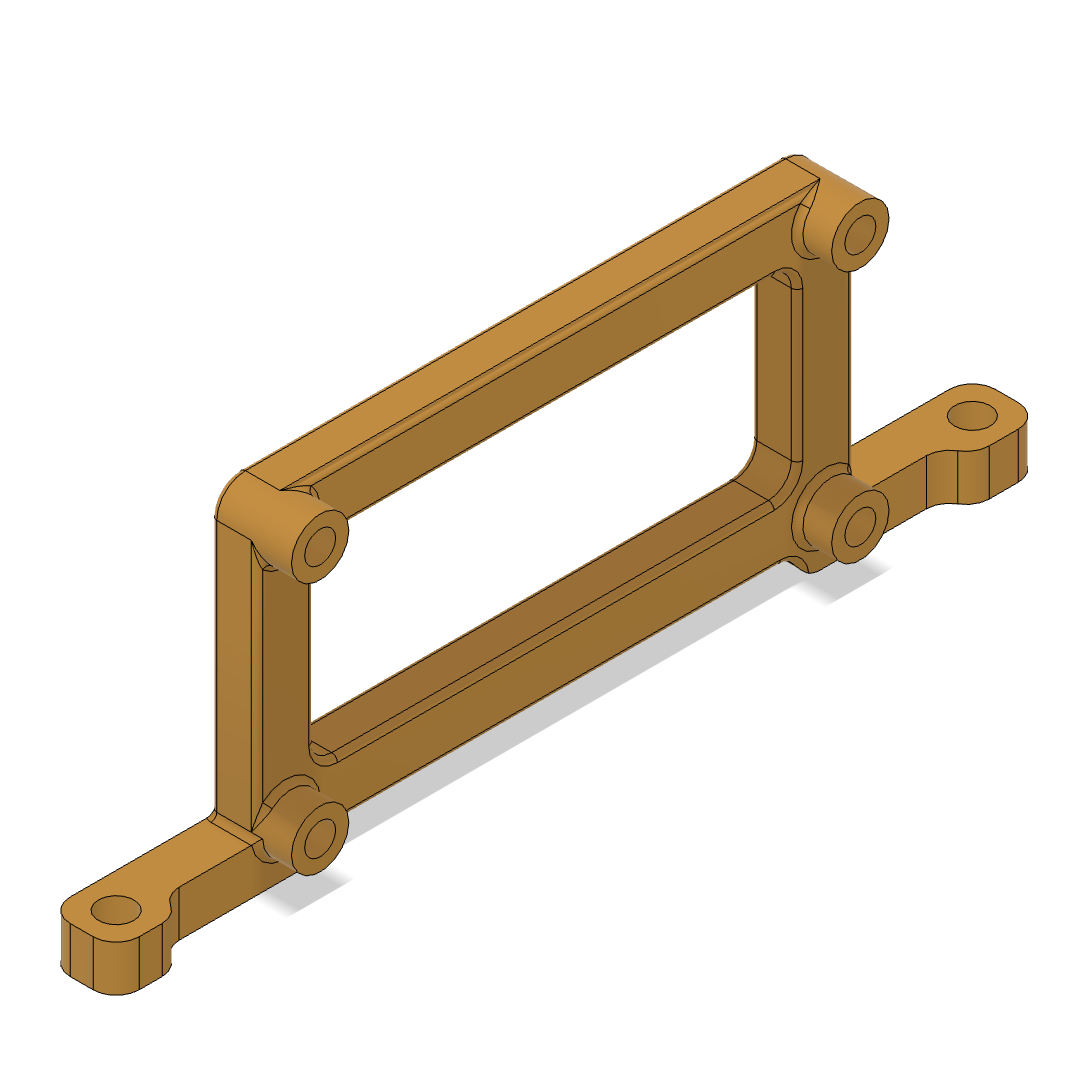
Rails | Attaches to the M350, allows the kit to be attached to the vehicle | 1 |
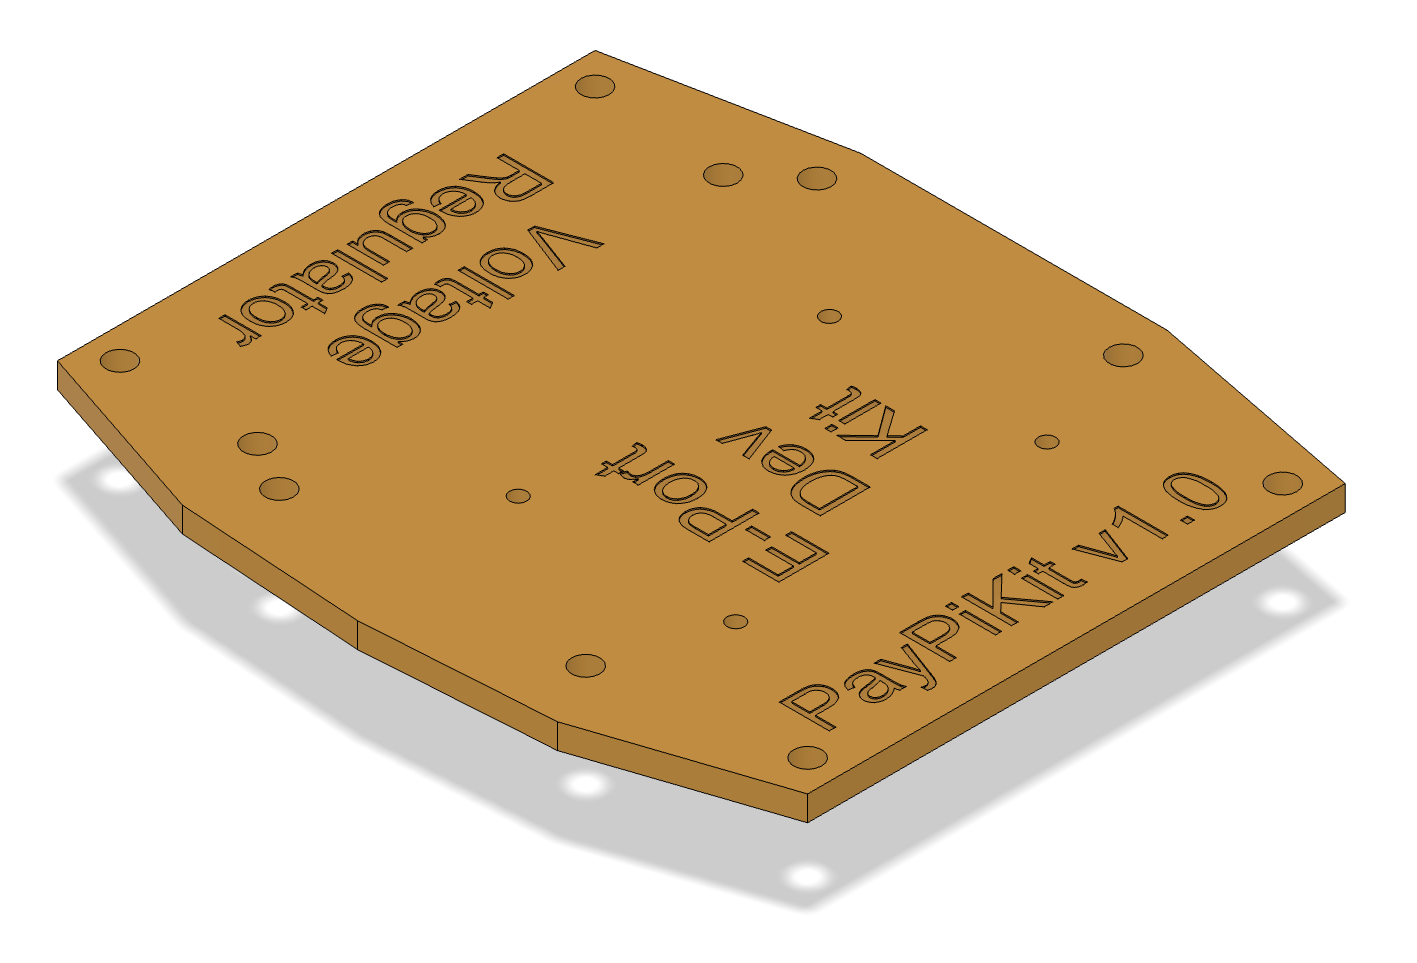 |
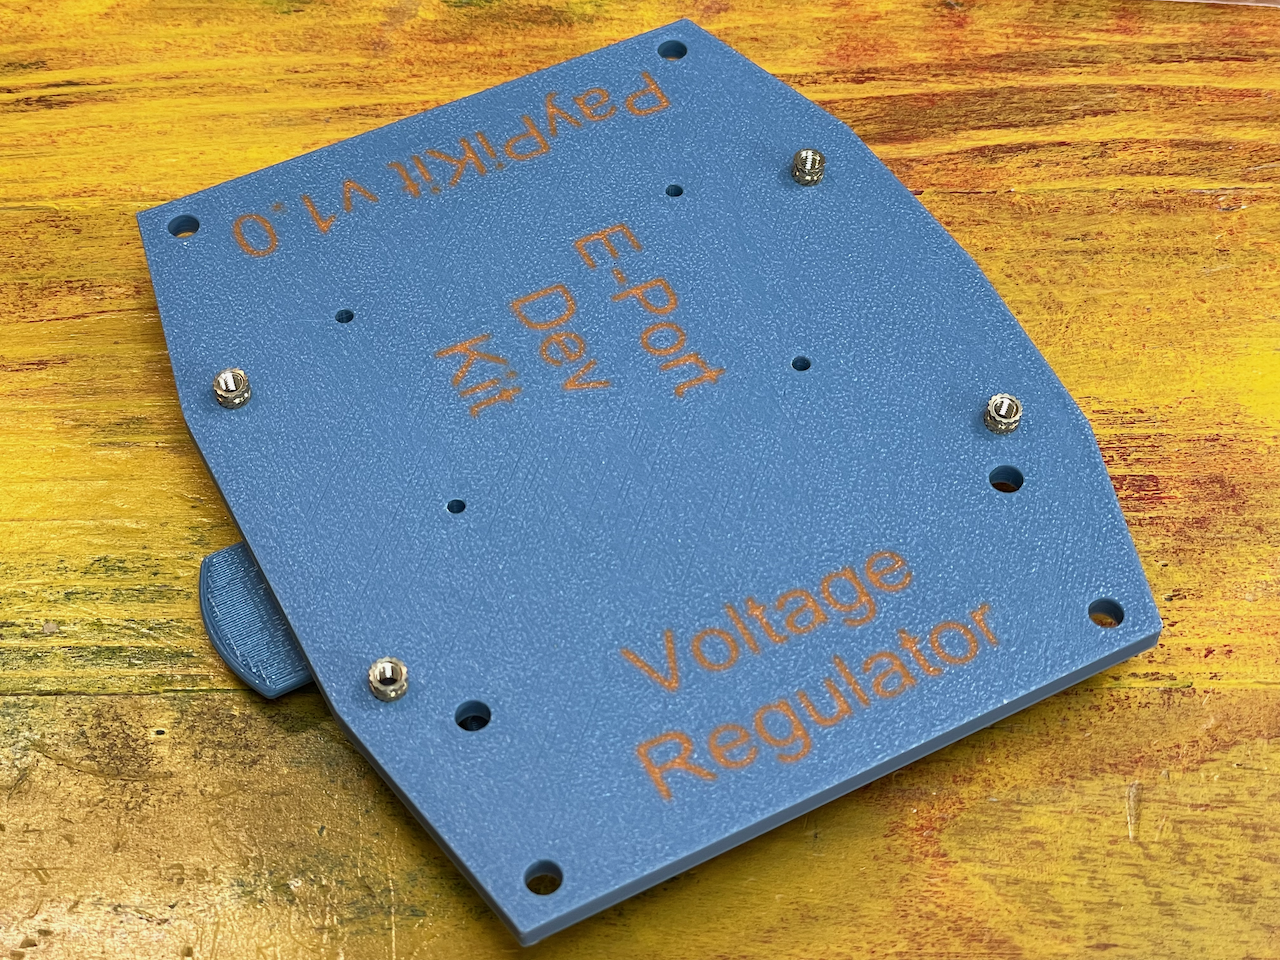
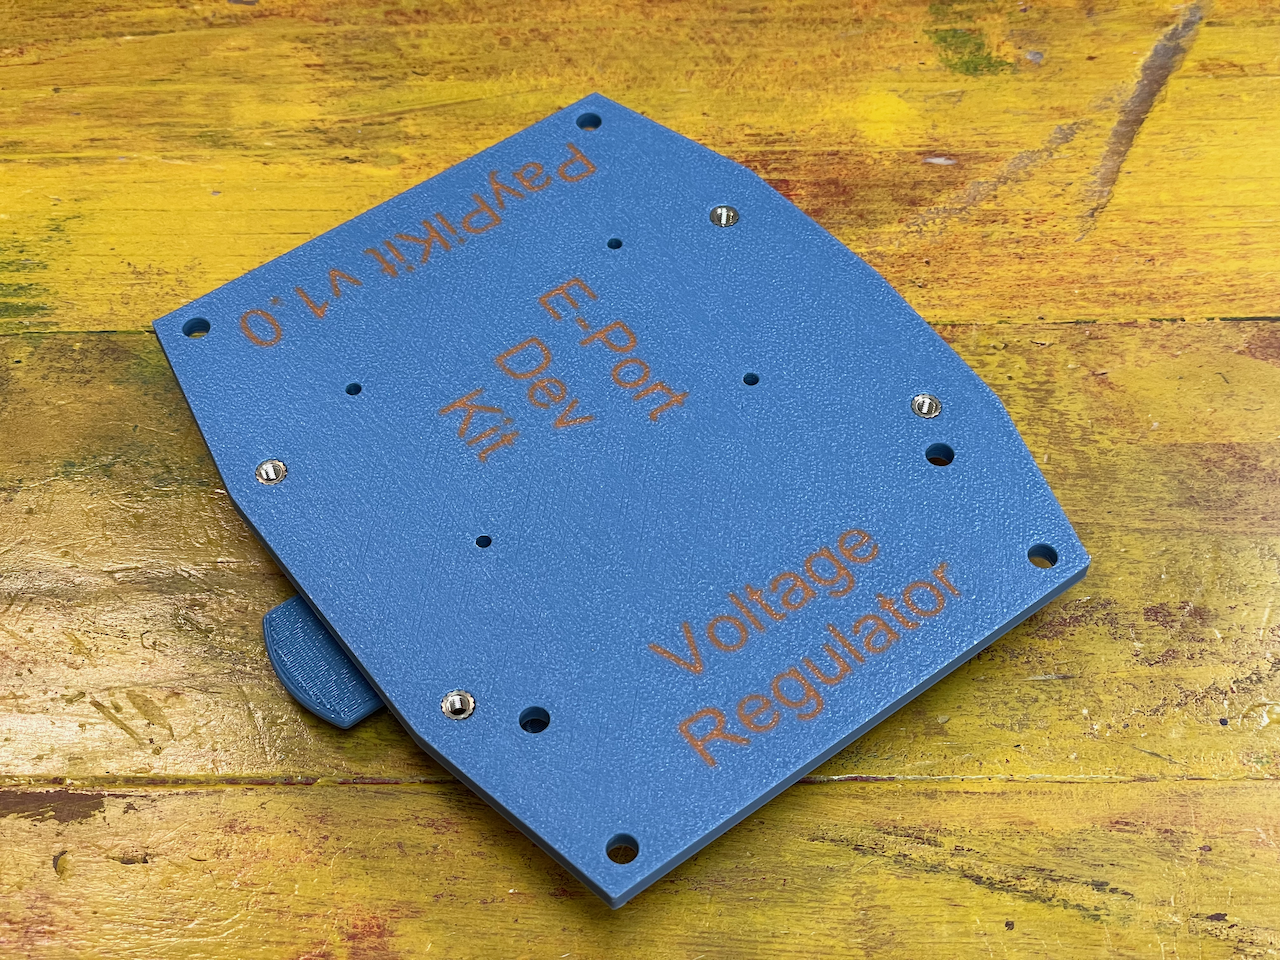
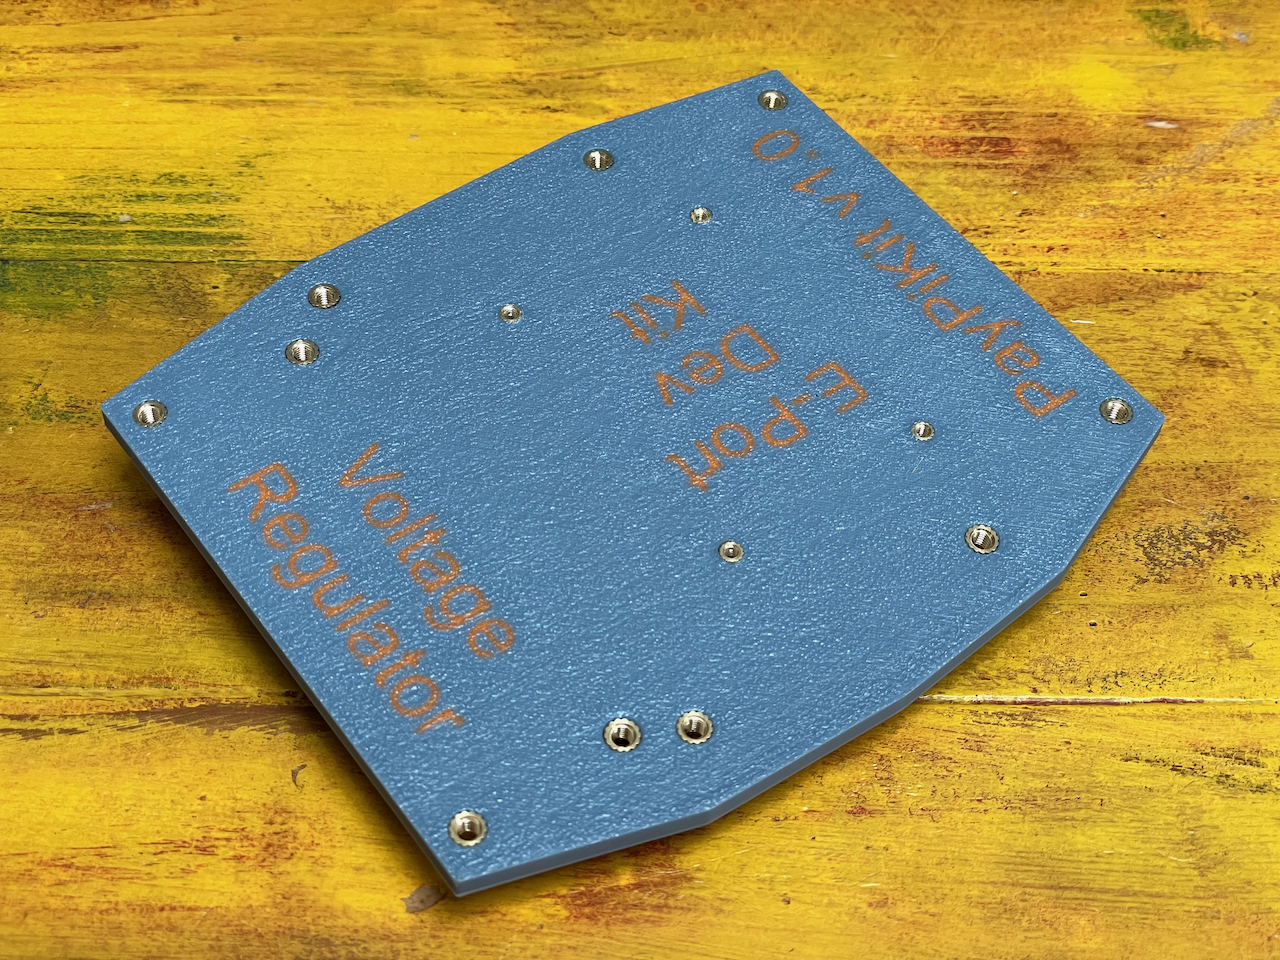
Plate | Base of the kit, supports all the electronics, slides into the rails | 1 |
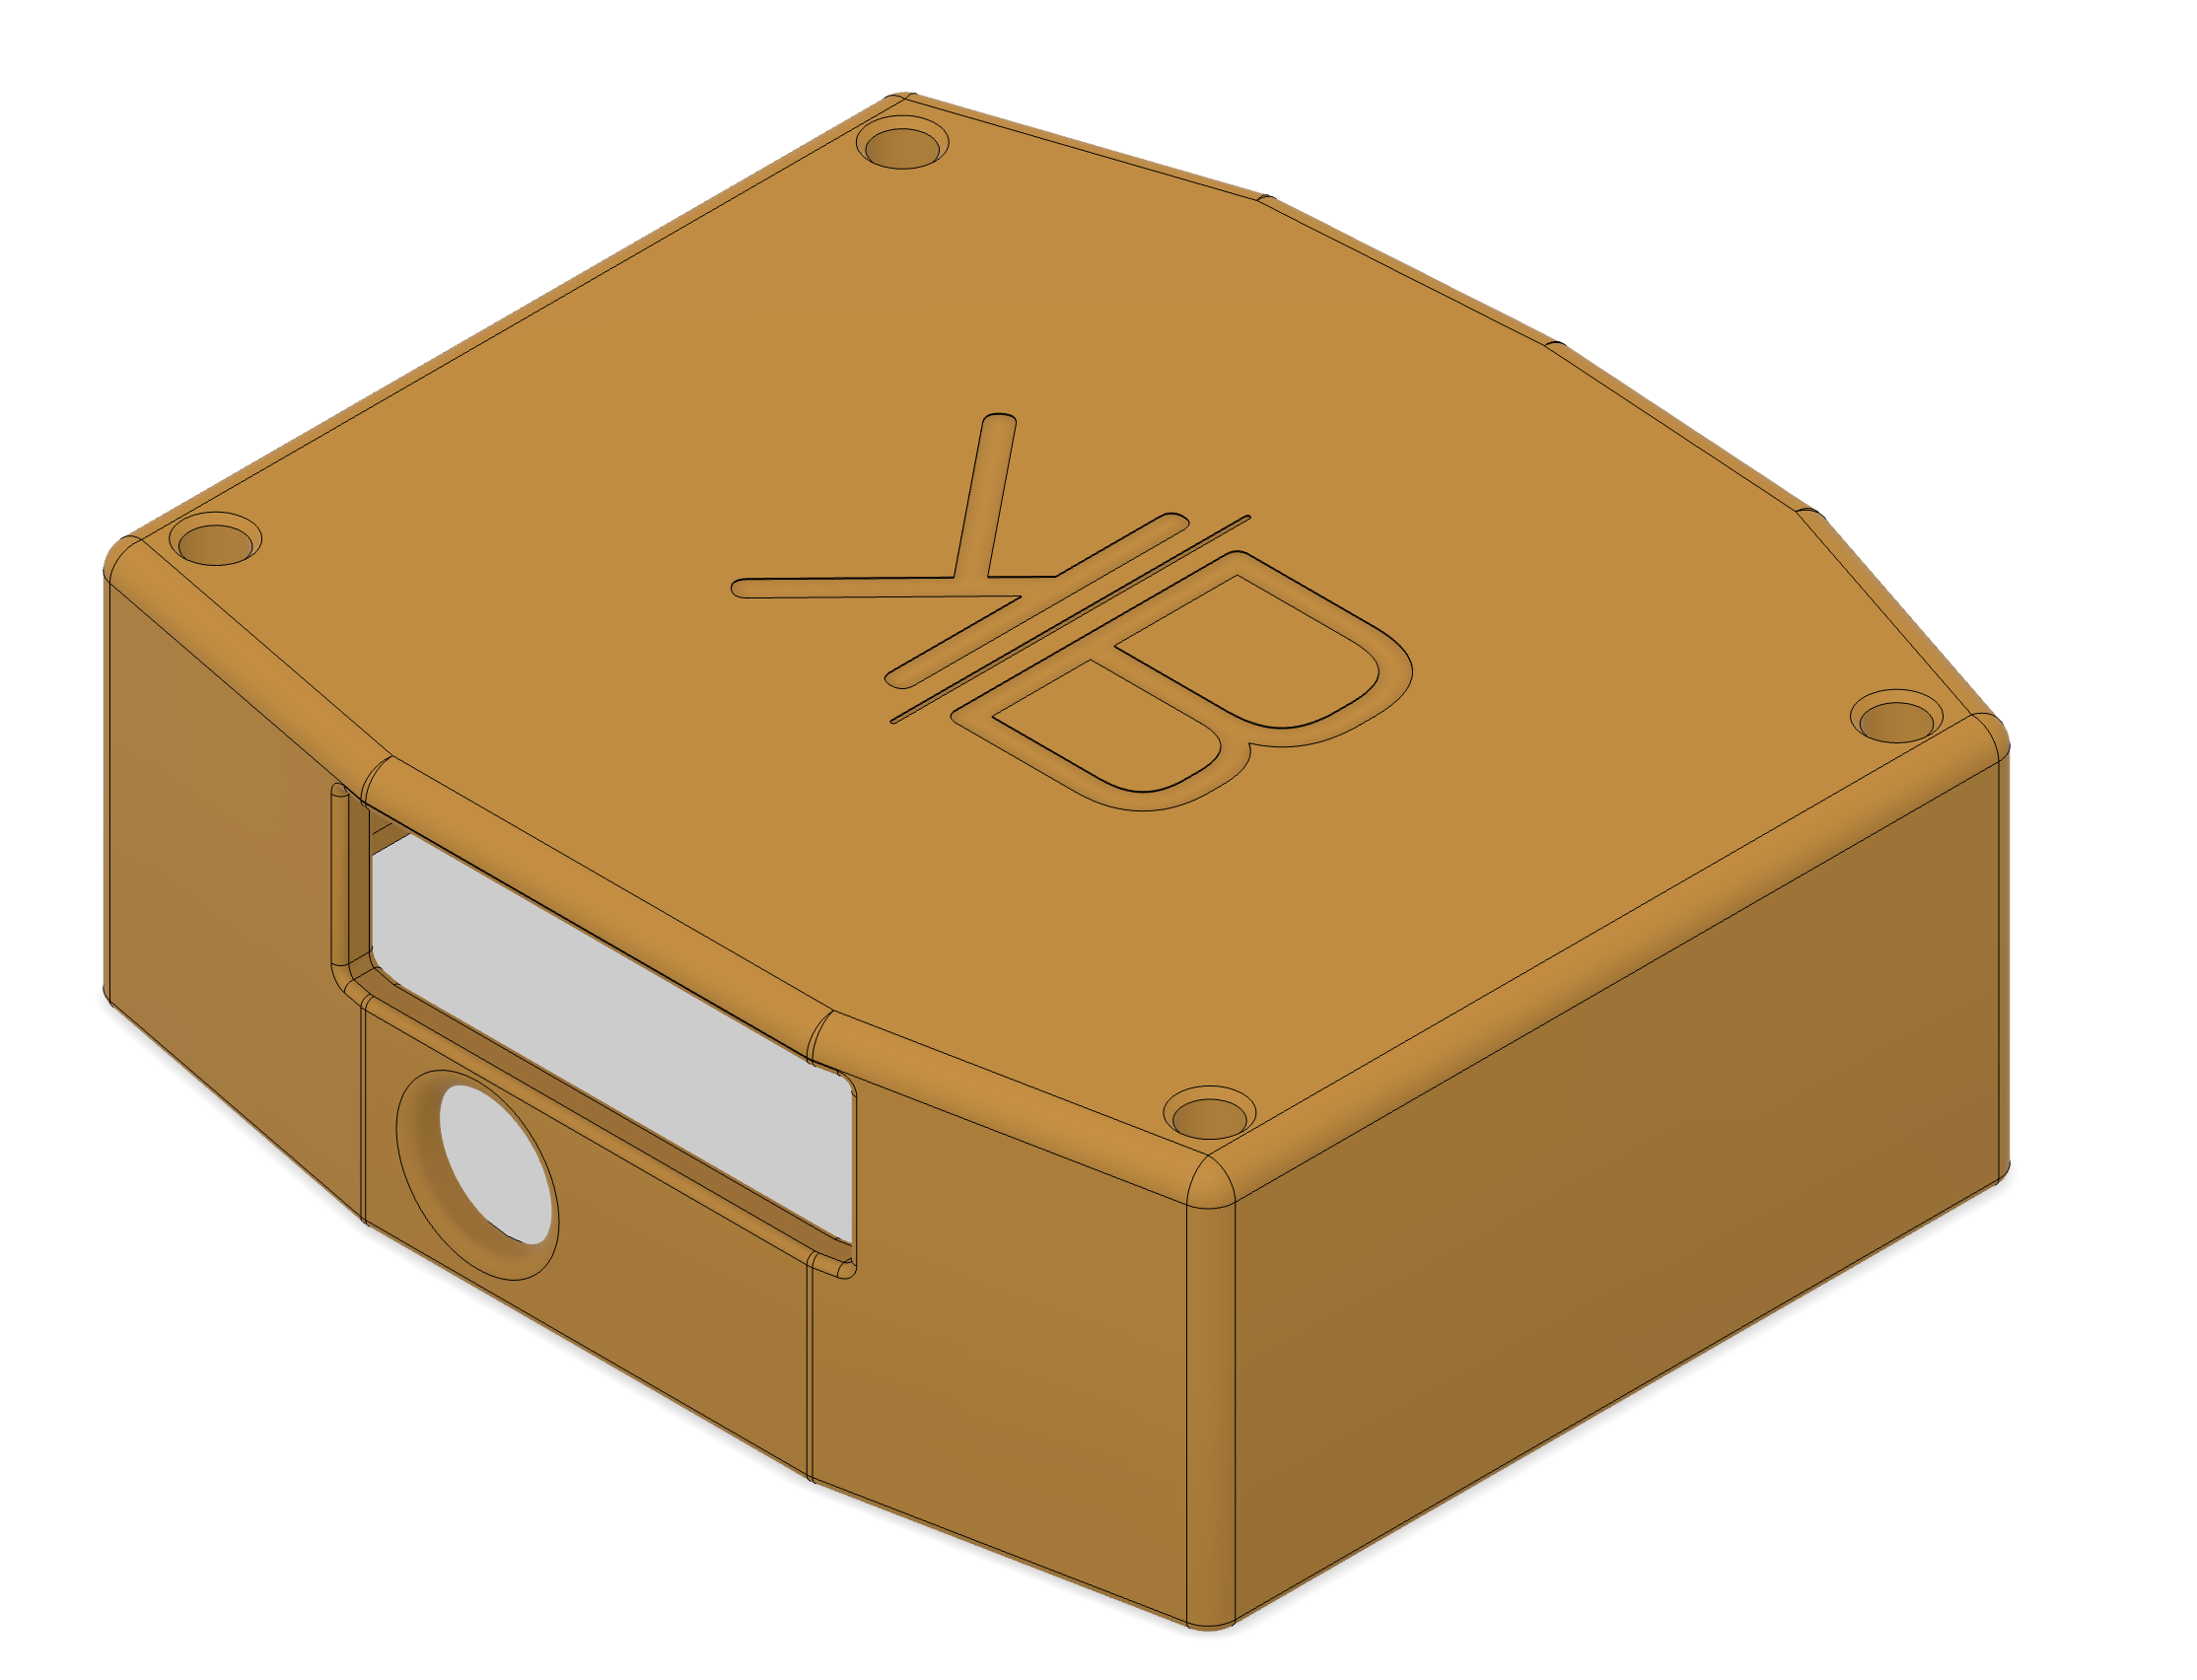 |
Cover | Optional cover to protect the electronics. Modifiable to attached extra sensors. | 1 |
Rails Hardware
| Picture | Part Name | Description | Qty |
|---|---|---|---|
 |
Rails Front Spacers | Higher than the back, they level the rails when attached to the vehicle | 2 |
 |
Rails Back Spacers | Lower than the front, they level the rails when attached to the vehicle | 2 |
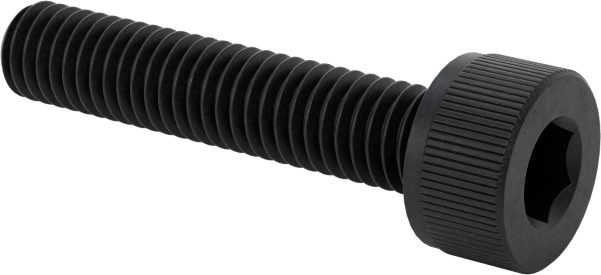 |
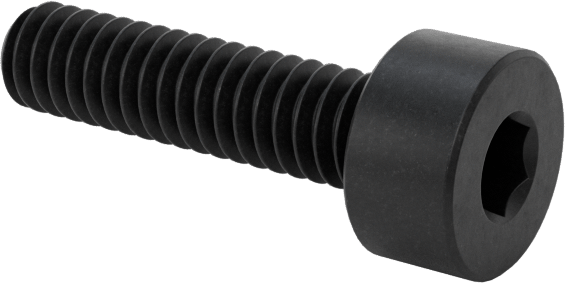
M3x15mm Socket Screws | Attaches the front of the rails to the vehicle | 2 |
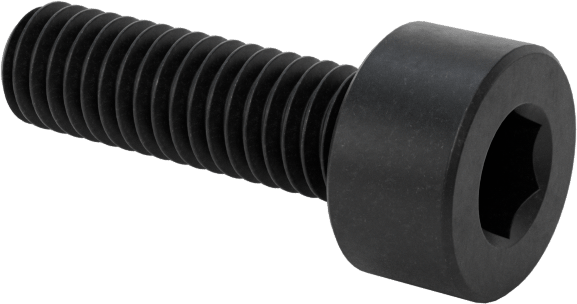 |
M3x10mm Socket Screws | Attaches the back of the rails to the vehicle | 2 |
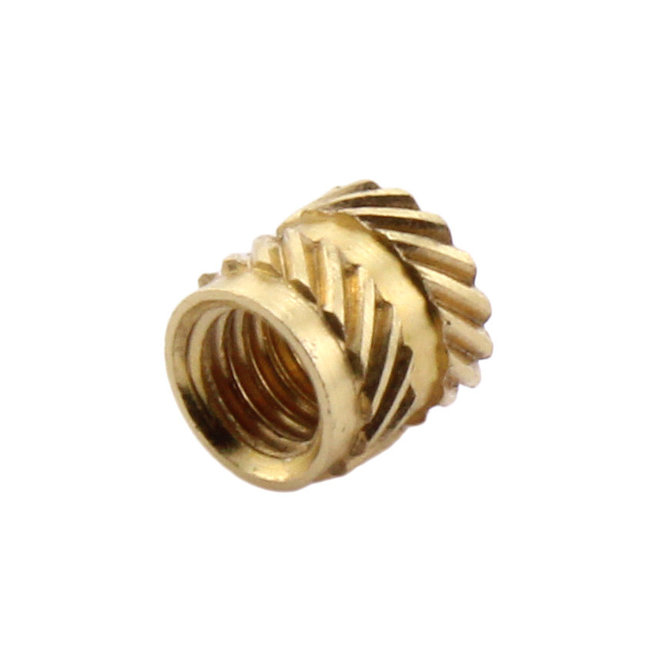 |
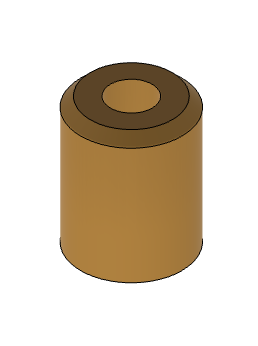
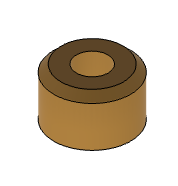
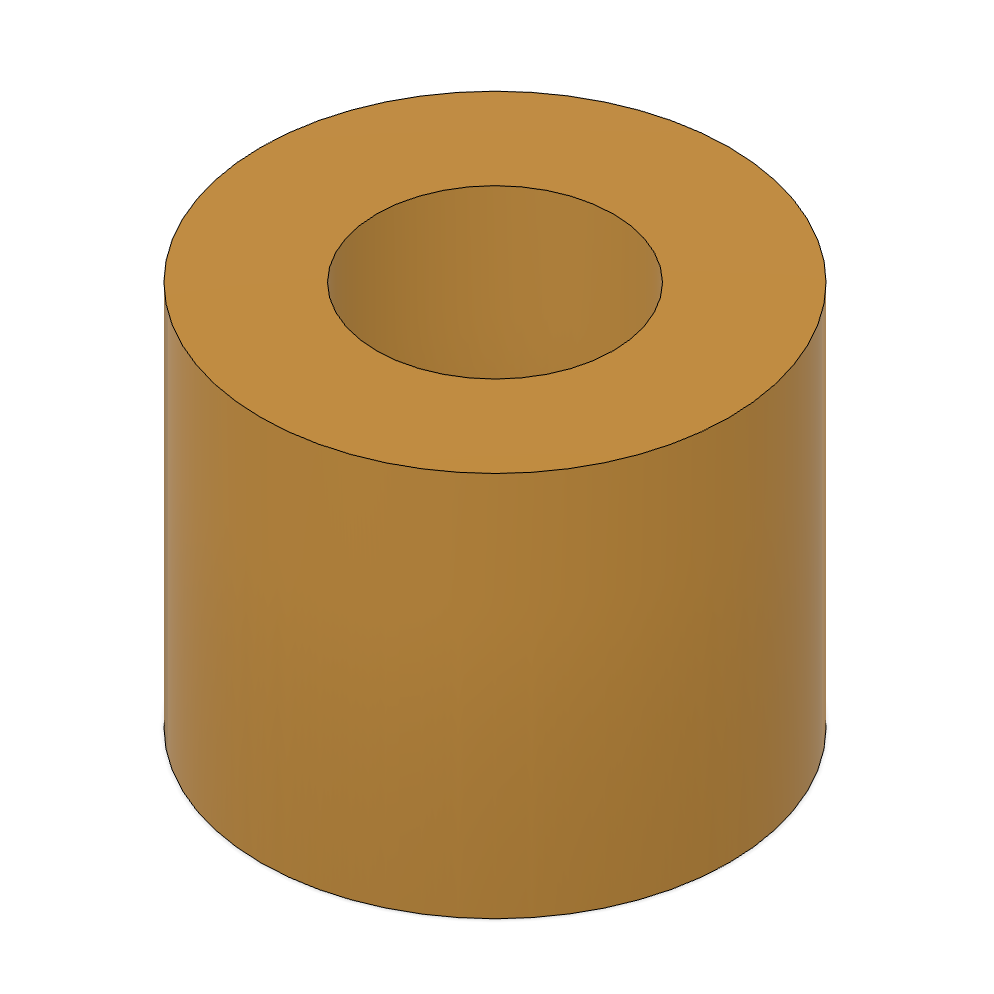
M3x4mm Heat Set Insert | Inserted into the plate, allows to lock the kit to the vehicle for extra safety | 1 |
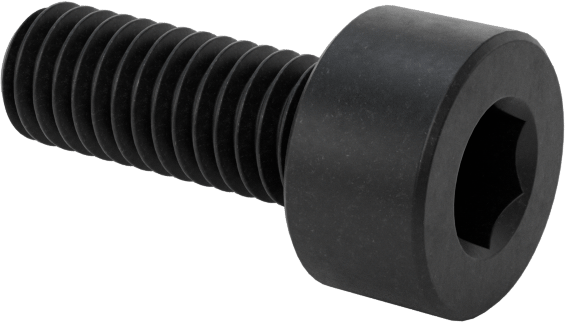 |
M3x8mm Socket Screw | Allows the kit to be secured to the rails as an additional safety | 1 |
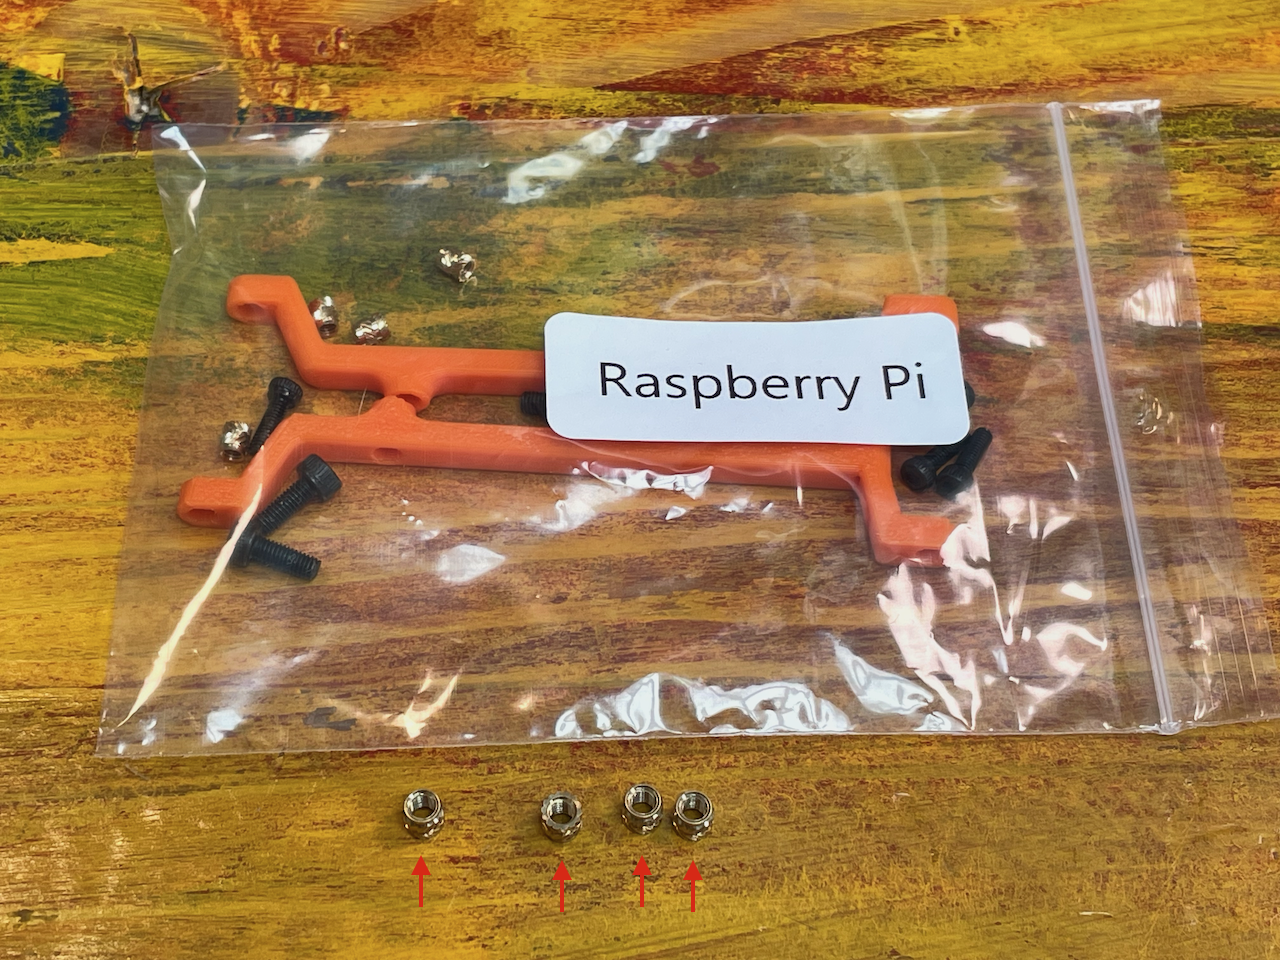
Raspberry Pi Hardware
| Picture | Part Name | Description | Qty |
|---|---|---|---|
 |
Pi Shelves | Attaches to the M350, allows the kit to be attached to the vehicle | 2 |
|
M3x4mm Heat Set Insert | Inserted into the plate, allows to lock the kit to the vehicle for extra safety | 4 |
|
M3x8mm Socket Screw | Allows the kit to be secured to the rails as an additional safety | 4 |
|
M2.5x4mm Heat Set Inserts | Allows the kit to be secured to the rails as an additional safety | 4 |
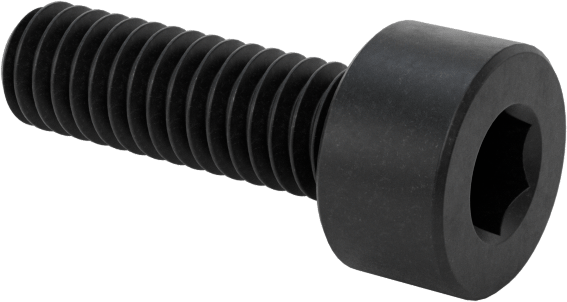 |
M2.5x8mm Socket Screw | Allows the kit to be secured to the rails as an additional safety | 4 |
E-Port Dev Kit Hardware
| Picture | Part Name | Description | Qty |
|---|---|---|---|
 |
E-Port Spacers | Attaches to the M350, allows the kit to be attached to the vehicle | 4 |
|
M2x3mm Heat Set Inserts | Allows the kit to be secured to the rails as an additional safety | 4 |
 |
M2x8mm Socket Screw | Allows the kit to be secured to the rails as an additional safety | 4 |
Voltage Regulator Hardware
| Picture | Part Name | Description | Qty |
|---|---|---|---|
 |
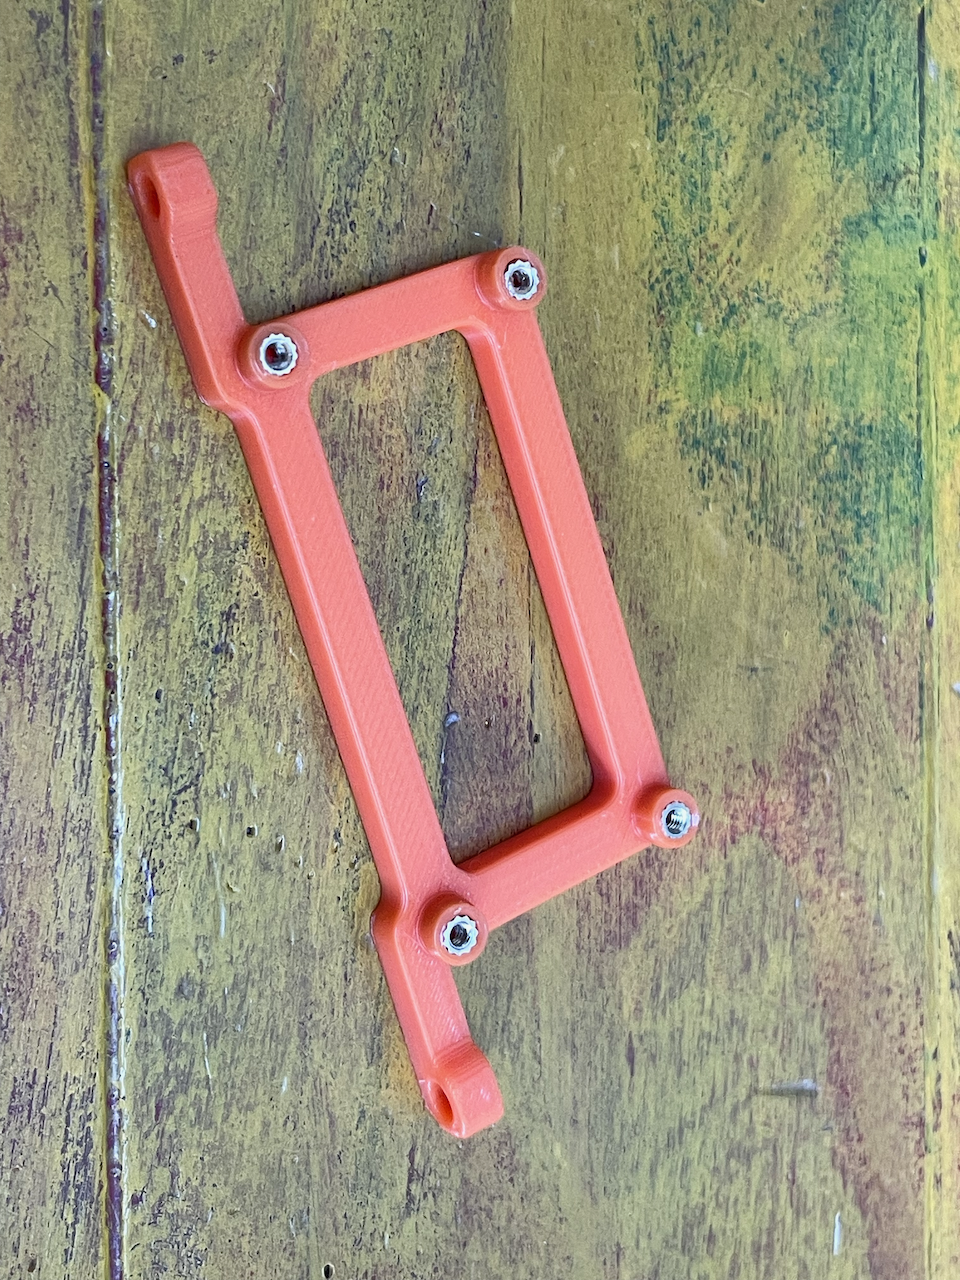
Voltage Regulator Mount | Attaches to the M350, allows the kit to be attached to the vehicle | 1 |
|
M3x4mm Heat Set Insert | Inserted into the plate, allows to lock the kit to the vehicle for extra safety | 2 |
|
M3x8mm Socket Screw | Allows the kit to be secured to the rails as an additional safety | 2 |
|
M2x3mm Heat Set Inserts | Allows the kit to be secured to the rails as an additional safety | 4 |
|
M2x8mm Socket Screw | Allows the kit to be secured to the rails as an additional safety | 4 |
Cover Hardware
| Picture | Part Name | Description | Qty |
|---|---|---|---|
|
Cover | Attaches to the M350, allows the kit to be attached to the vehicle | 1 |
|
M3x10mm Socket Screws | Secures the cover to the plate | 4 |
|
M3x4mm Heat Set Inserts | Installed onto the plate, allows the cover to be secured | 4 |
Tools Needed:
- M3 Hex driver/allen wrench
- M2.5 Hex driver/allen wrench
- M2 Hex driver/allen wrench
- Pliers/Tweezers to hold parts during alignment
- PH2 Screw driver
Note
We recommend getting a kit like the iFixit Mako Precision or the Hototools Kits
Verify they have all the bits needed as these kit may have changed since this documentation was last updated.
Assembling the Kit
Heat Set Inserts
Because this kit is intended to be experimented with, we opted for heat set inserts. This will allow for multiple assembly/disassembly with minimum wear and tear on the mounts.
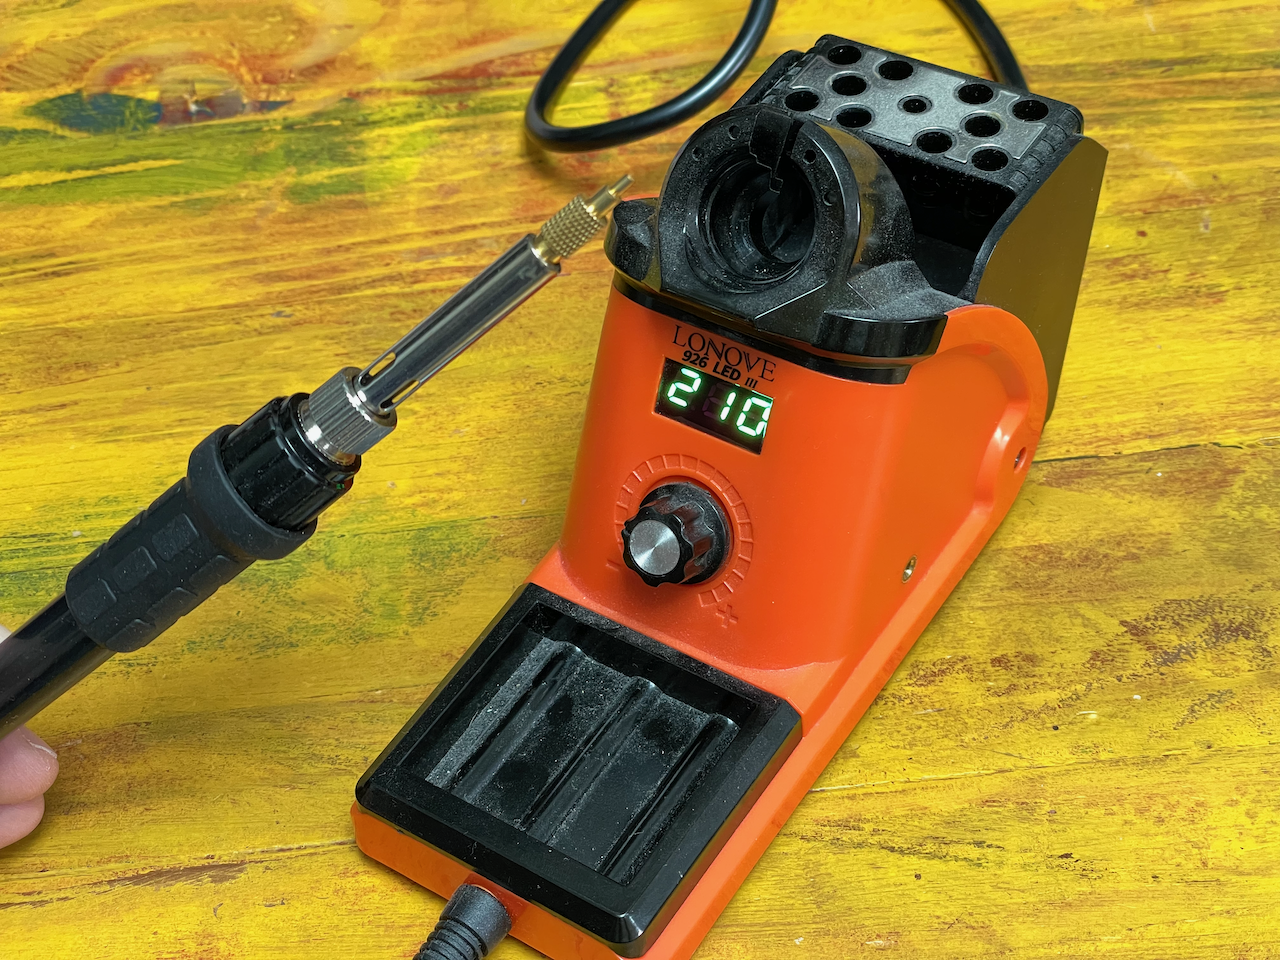
This also means that for this step, you need to place the inserts with a soldering iron.
Note
A unregulated soldering iron is enough, but a cheap soldering station comes at a minor cost increase for a huge improvement. There are tons of chinese clones that work really well and use standard tip sizes like T18. This allows you to improve the station by getting heat set insert tips which makes it a lot easier to have precise results.
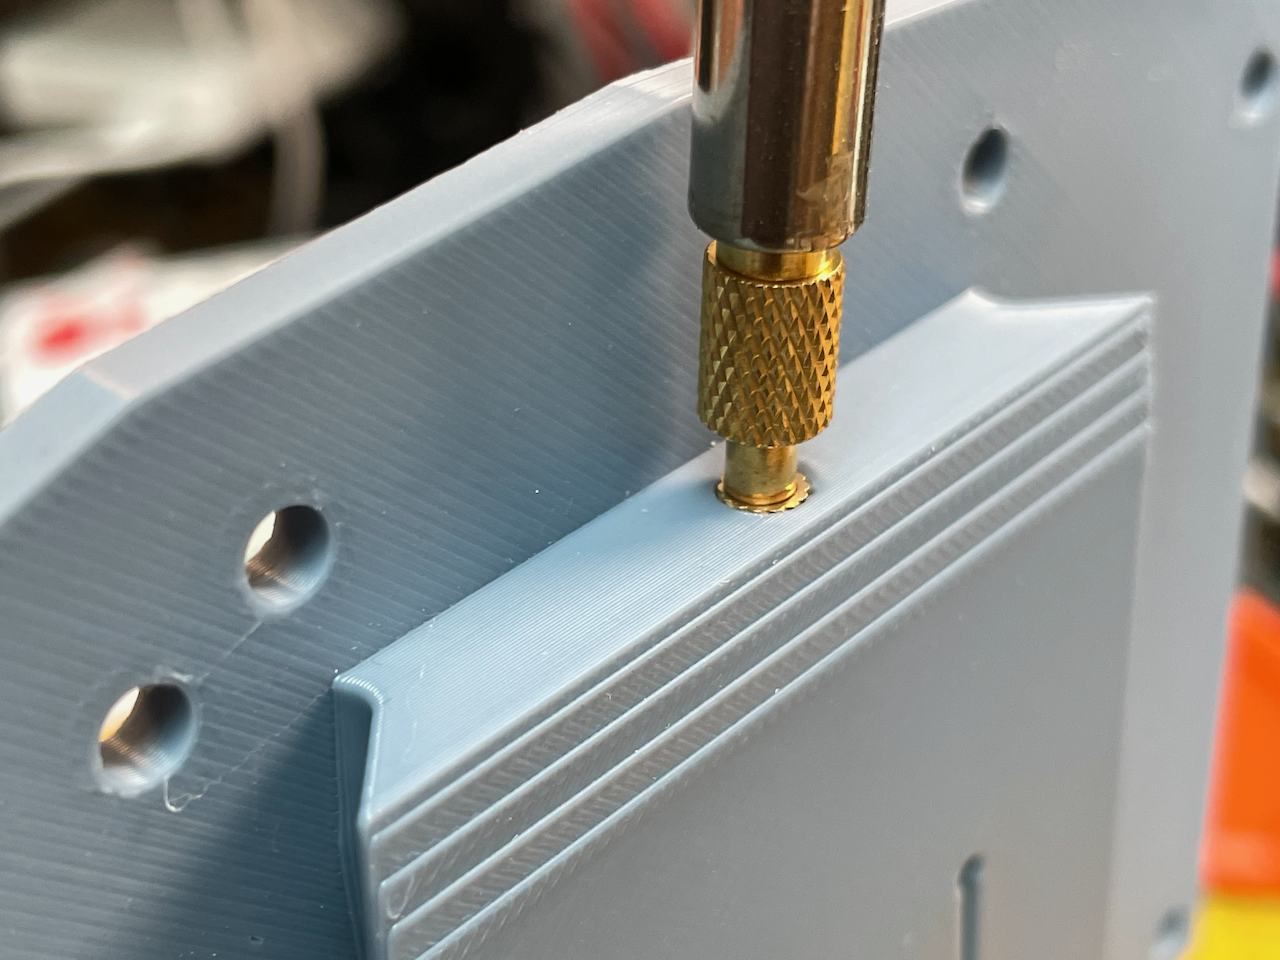
The trick with a standard soldering iron is that the cone tip will bite in the thread and may pull the insert out right after insertion.
Regardless, if you don't feel comfortable with the heat set insert, we recommend you get the assembled kit from us.
For all the following insert placement, set your stations at around 210°C or 410°F as the kit is made of PLA. You can use a fume extractor if you choose too, but PLA is on the safer side when it comes to VOC during heating.
Before you start, you should decide how you are going to approach this task. We package the hardware per parts, but if you setup your soldering station, you may want to get all the inserting in one go.
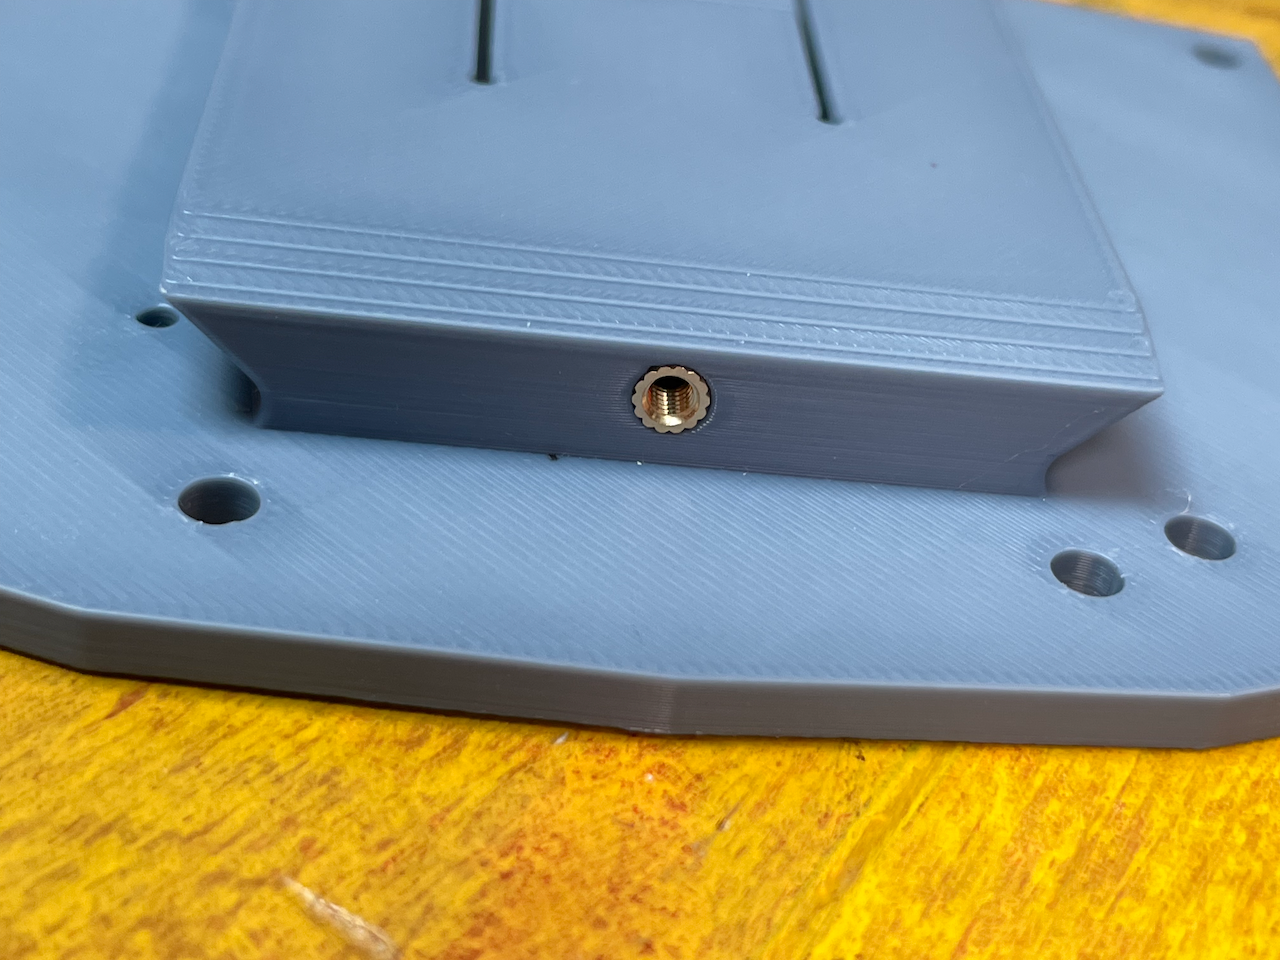
Plate's Rails Insert
The first thing we will do is place the heat set insert that will allow us to extra secure the kit to the rails.
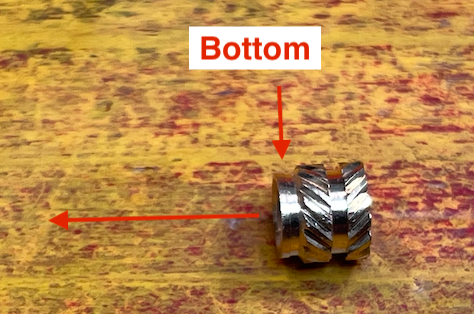
Note
The heat set inserts are sided. The tight space is the bottom part, and you insert it this way first.
-
Set up your soldering iron/station to 210°C/410°C
-
Grab the M3 insert from the 'Rails' bag.
-
Place the bottom part of the insert into the hole - don't worry if it does not fully sit
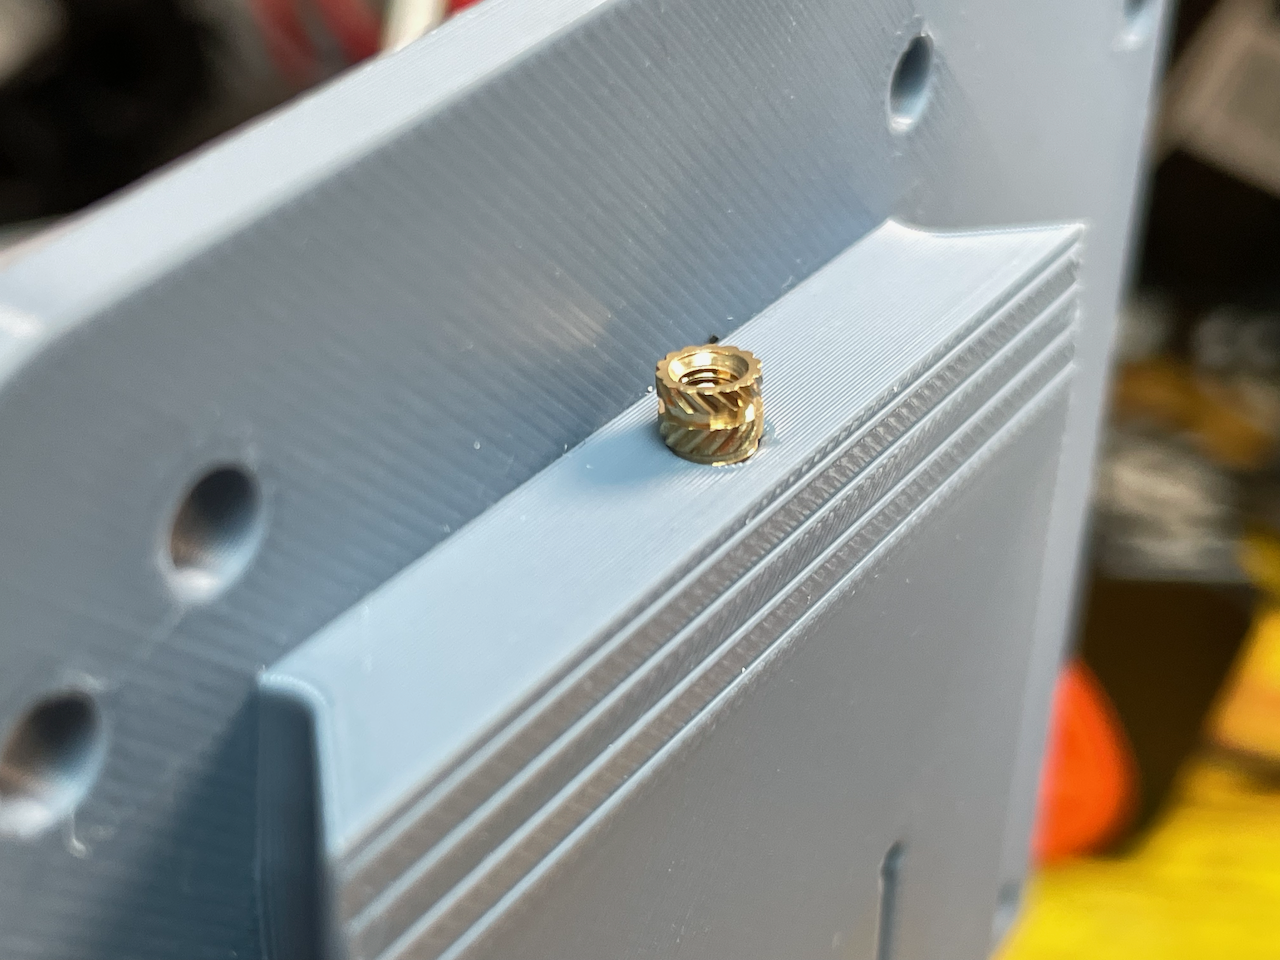
-
Press gently with the iron, the heat does the work, not the pressure.

-
Once flush with the surface, remove the iron, let the plastic cool off - this can take a few minutes.
Raspberry Pi's Inserts
-
Keep your soldering station ready as before
-
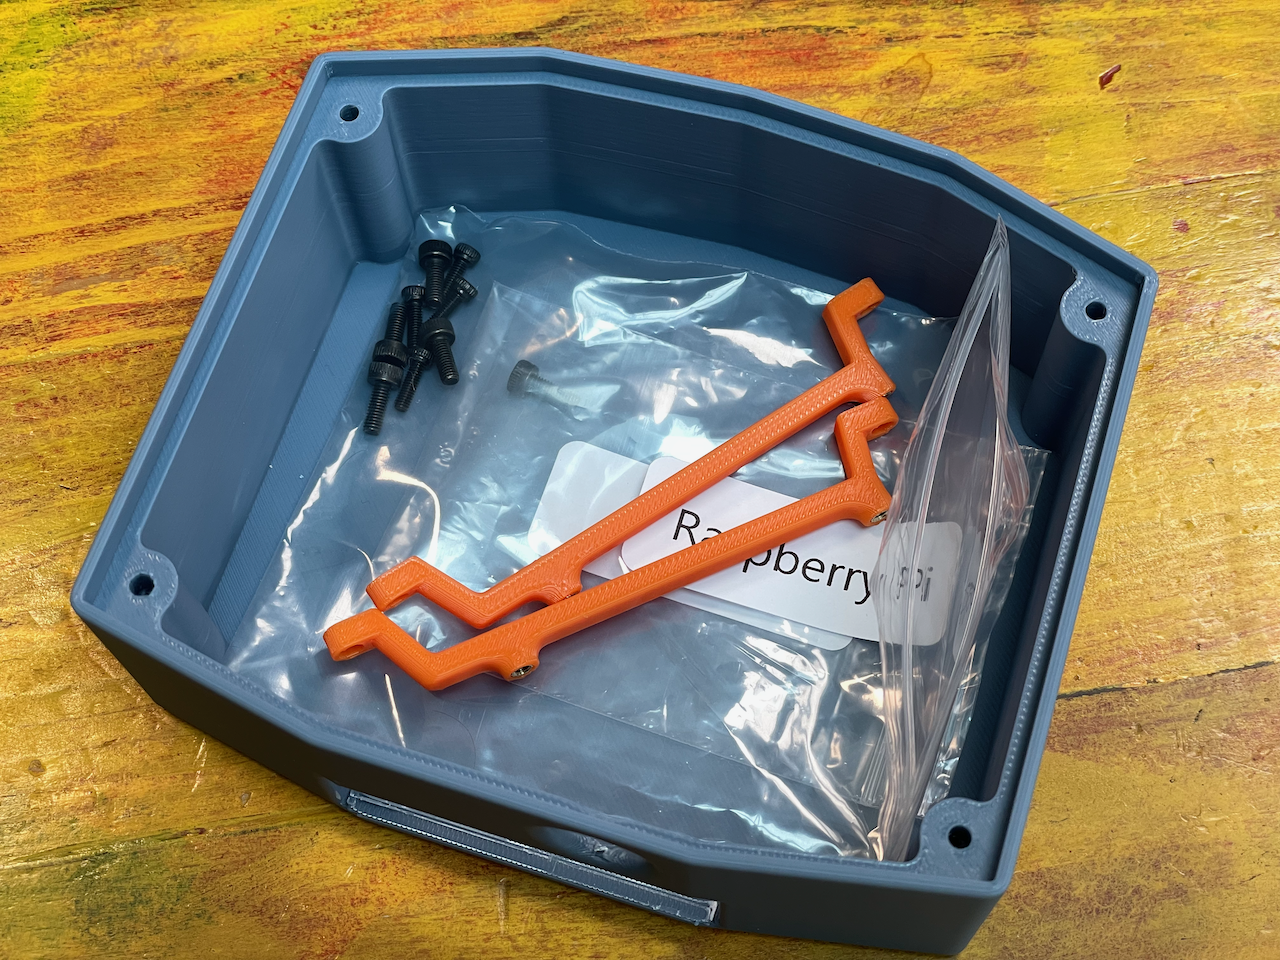
Grad the 4x M3 inserts from the 'Raspberry Pi' bag:
-
Place them inside their hole as we did for the rails' insert
-
Press gently with the iron, the heat does the work, not the pressure.
-
Once flush with the surface, remove the iron and let it cool off.
Now we can move on to the shelves.
-
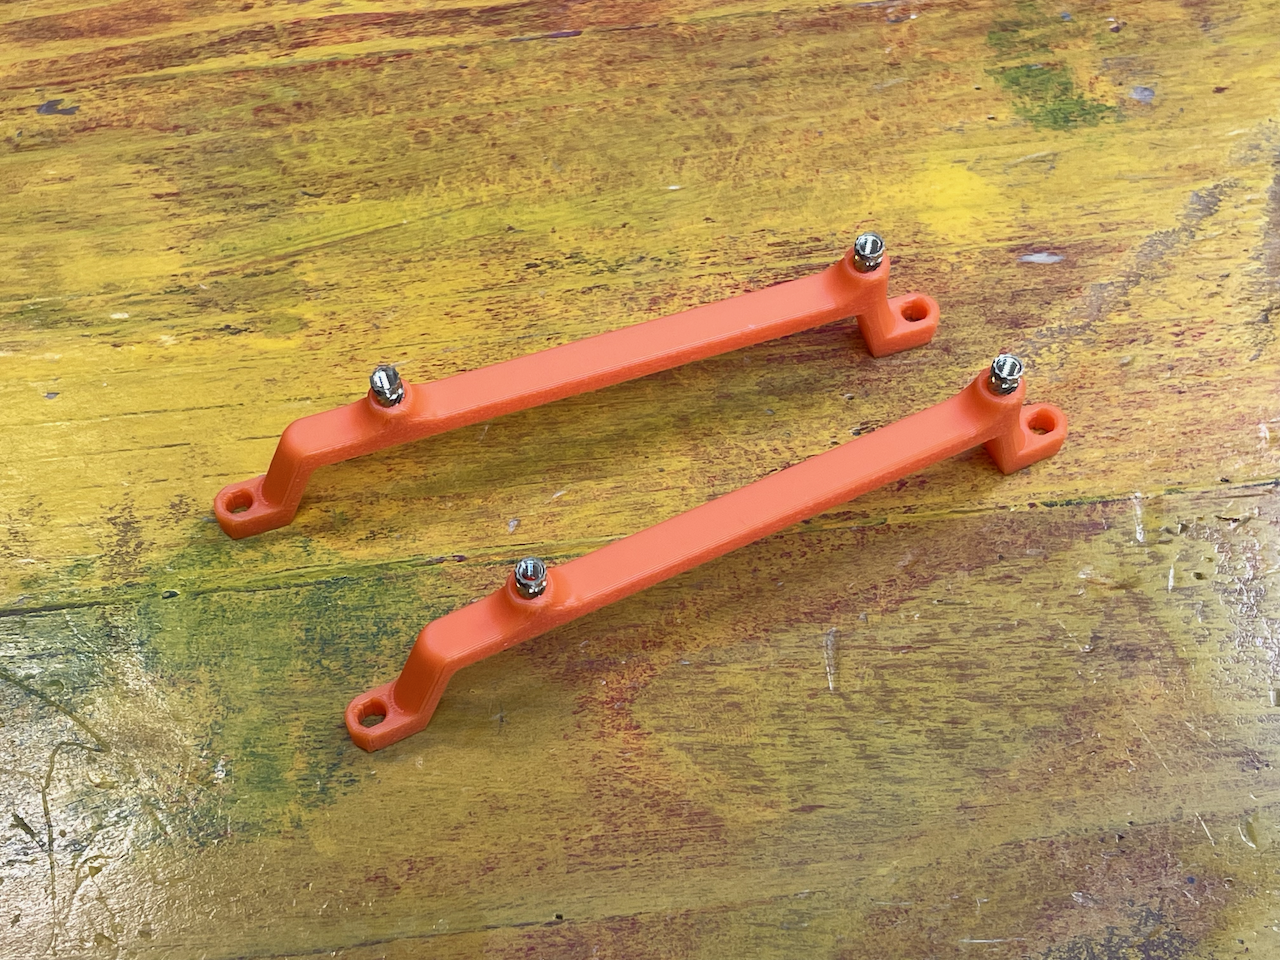
Grab the 2 shelves and the 4 M2.5 inserts from the
Raspberry Pibag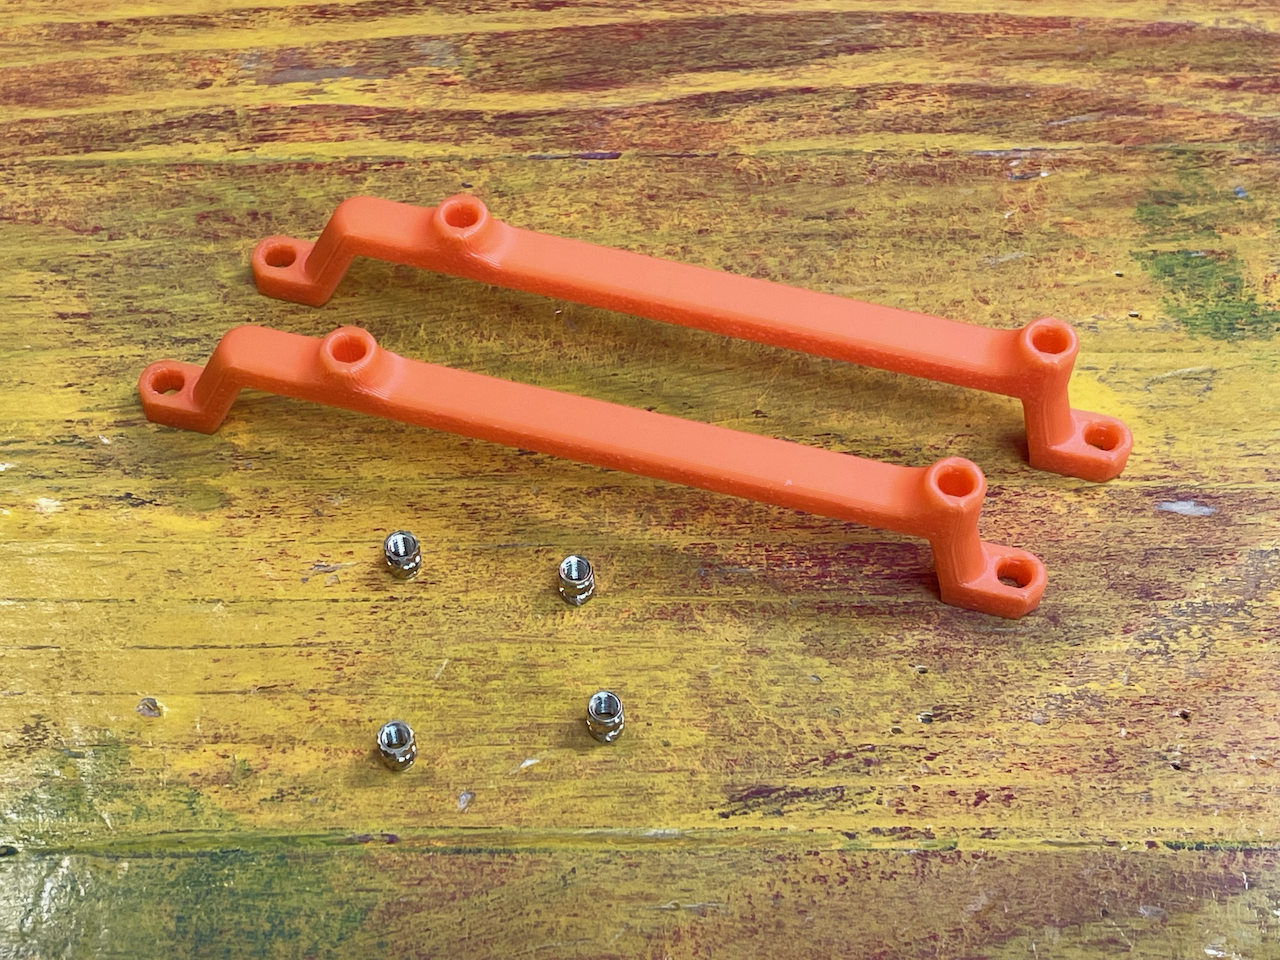
-
Place the inserts as before and insert with the iron as described before
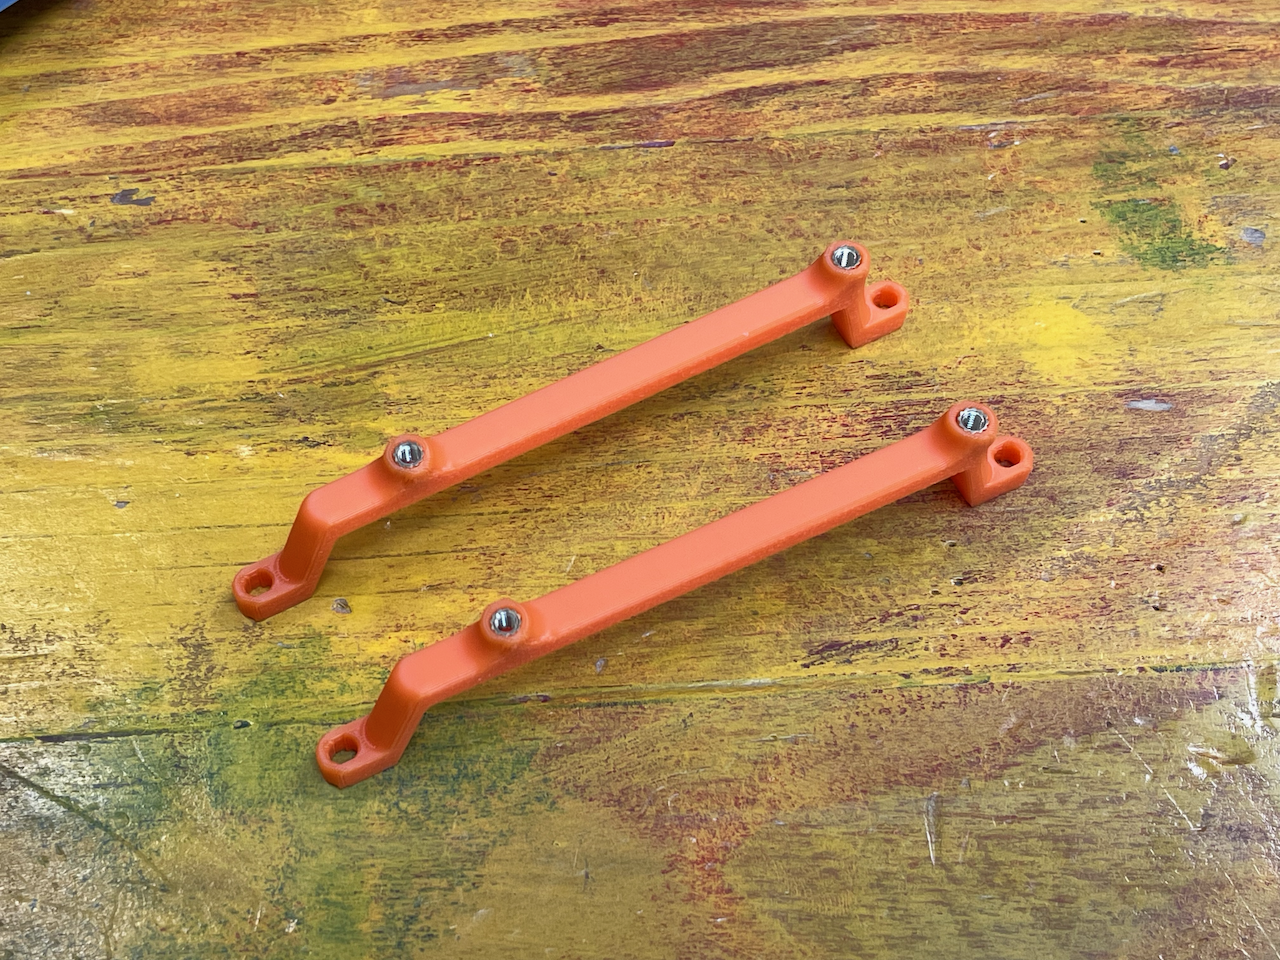
-
Set them aside for final assembly later.
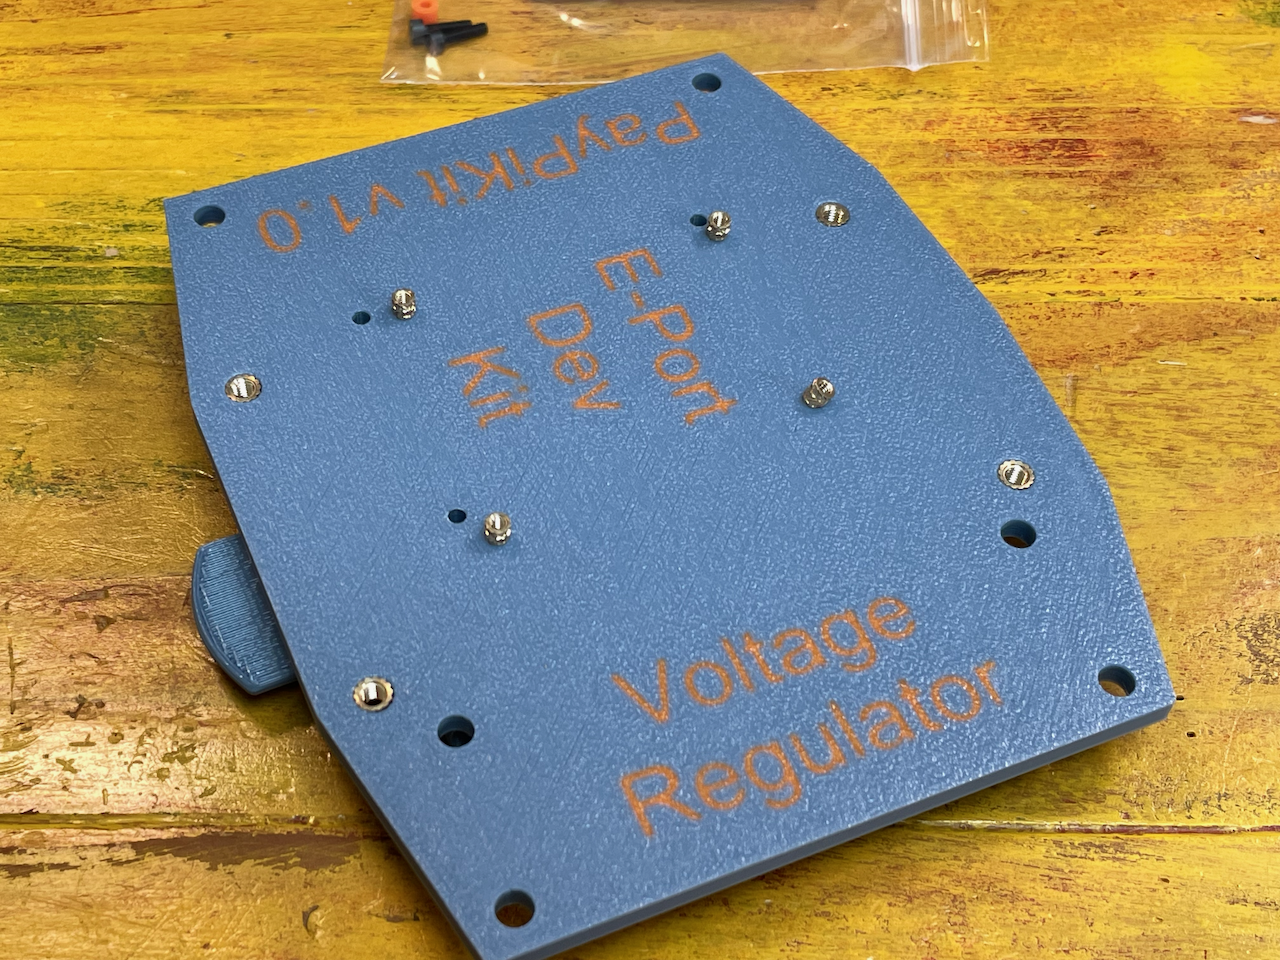
E-Port Dev Kit Inserts
- Soldering iron/station ready using the same parameters
-
Grab the 4x M2 inserts from the
E-Port Dev Kitbag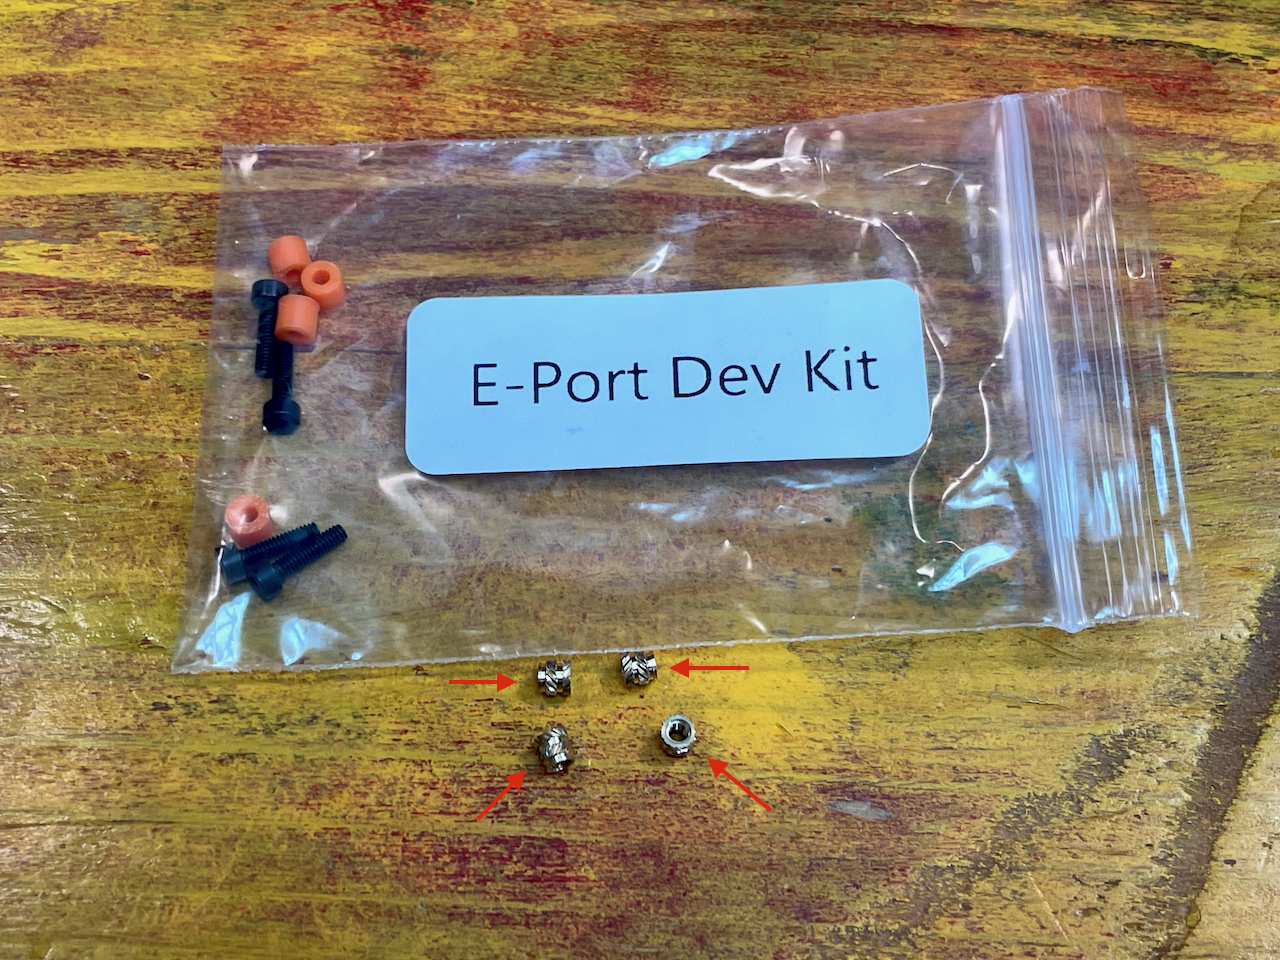
-
Place the inserts and heat insert them with the iron as done before
Note
These are tiny, and you may want to use pliers/tweezers.
Also, don't worry if they don't sit inside the whole, you can grab them flat and move them in place with the iron.

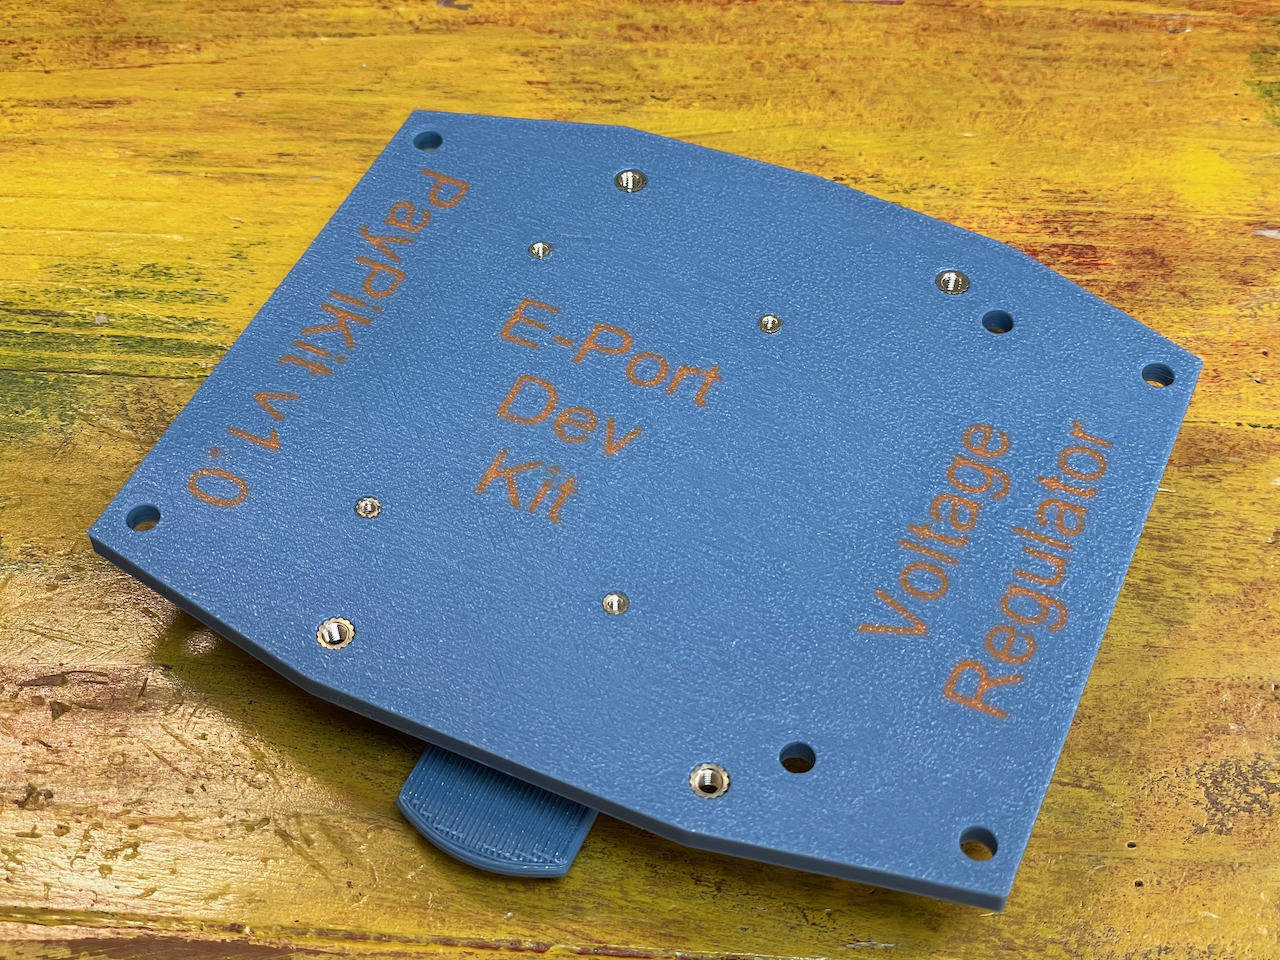
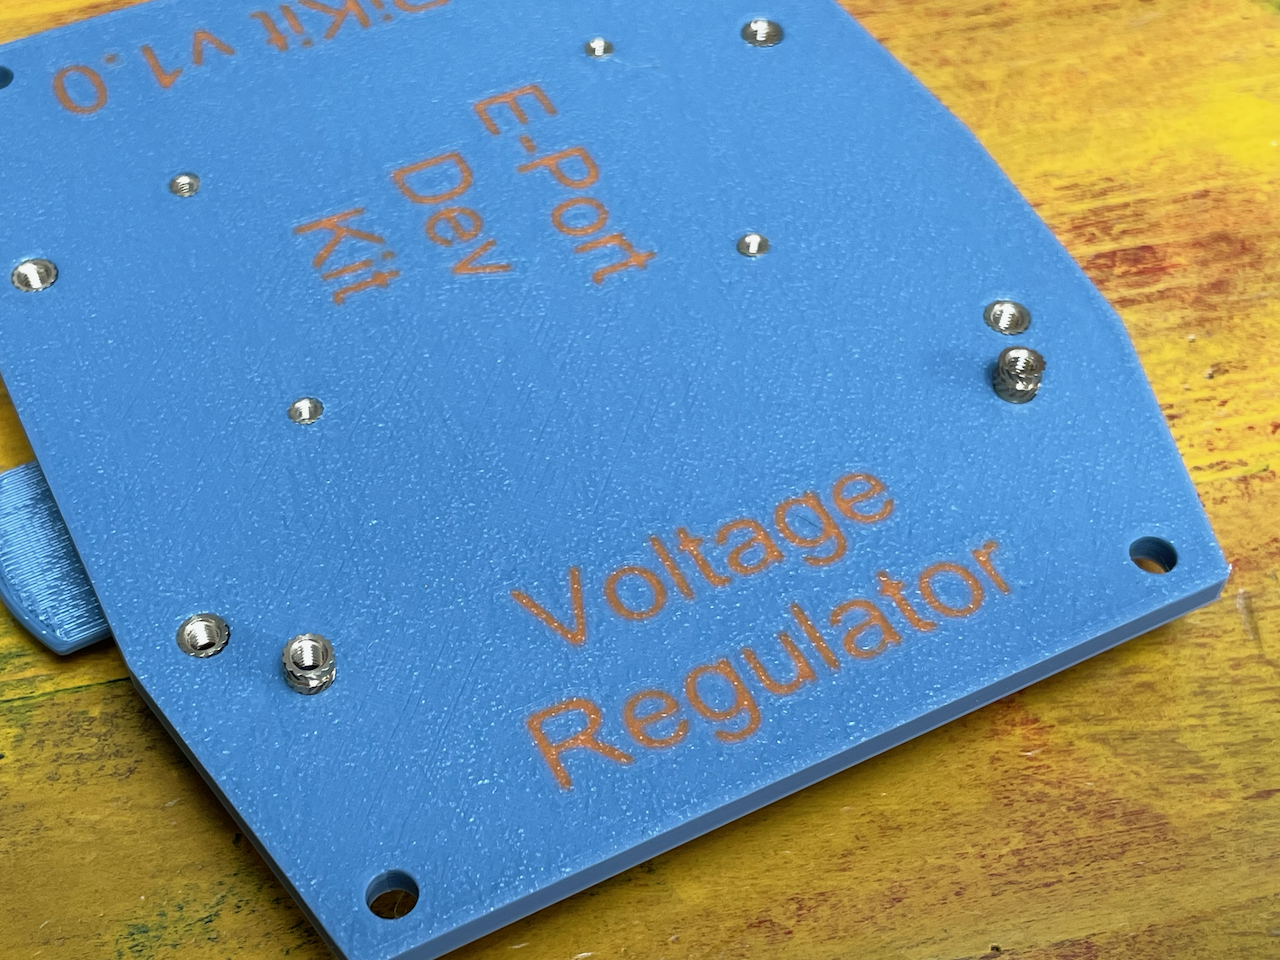
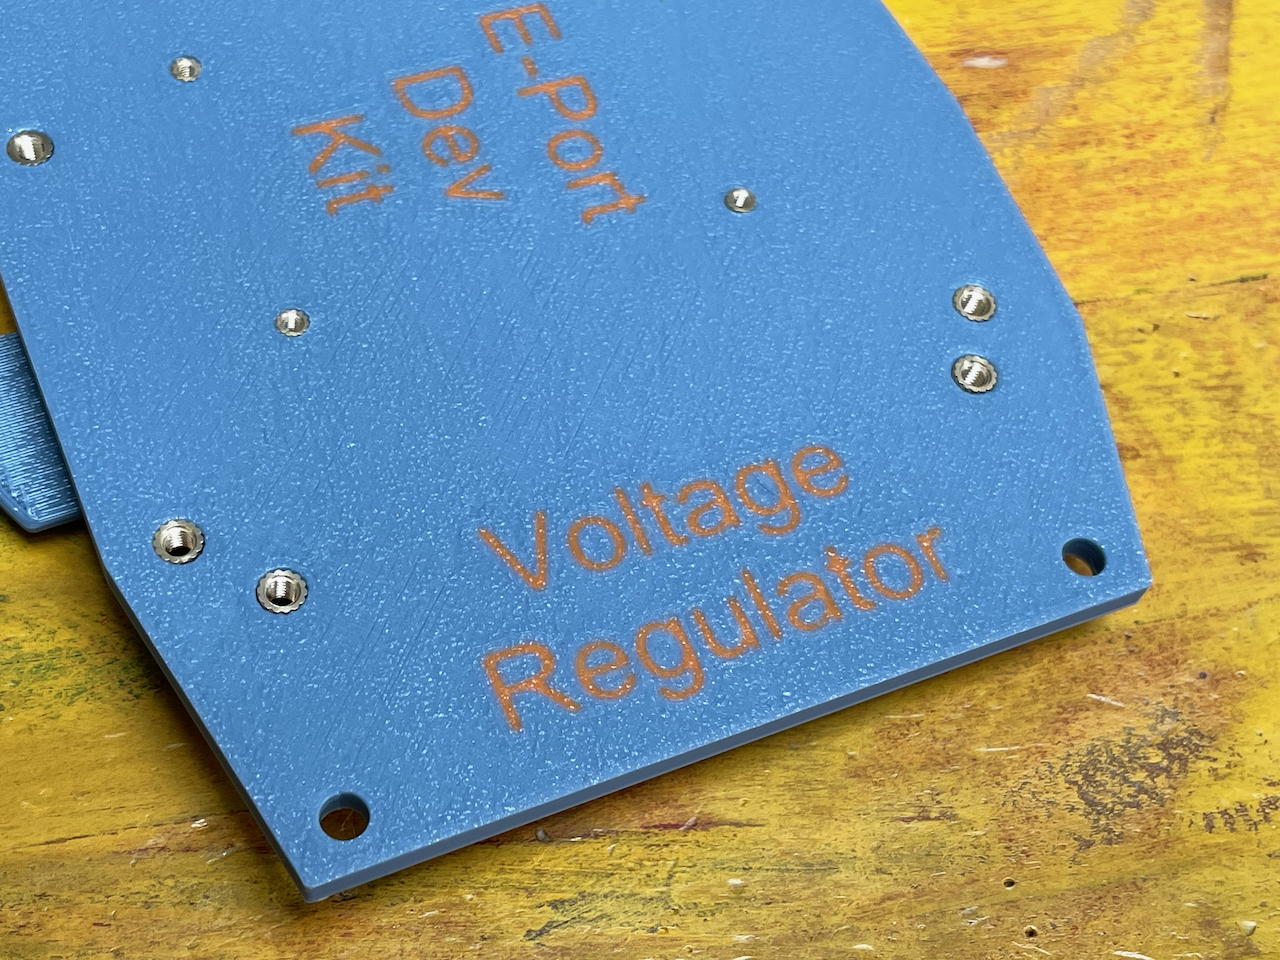
Voltage Regulator Inserts
- Soldering iron/station ready using the same parameters
-
Grab the 2 M3 inserts from the
Voltage Regulatorbag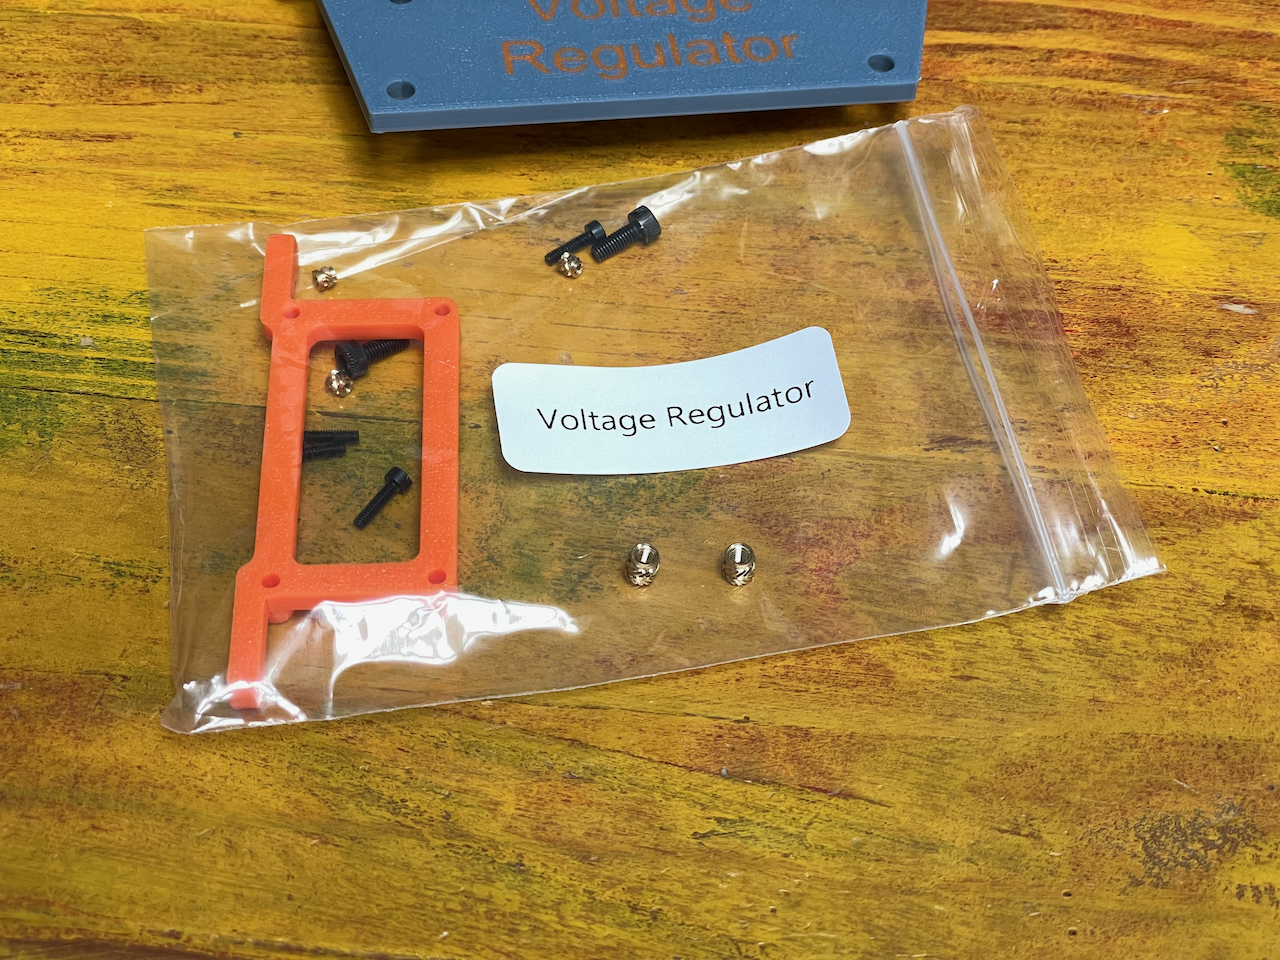
-
Place the inserts and heat insert them with the iron as done before
-
Grab the mount from the bag and the 4 M2 inserts
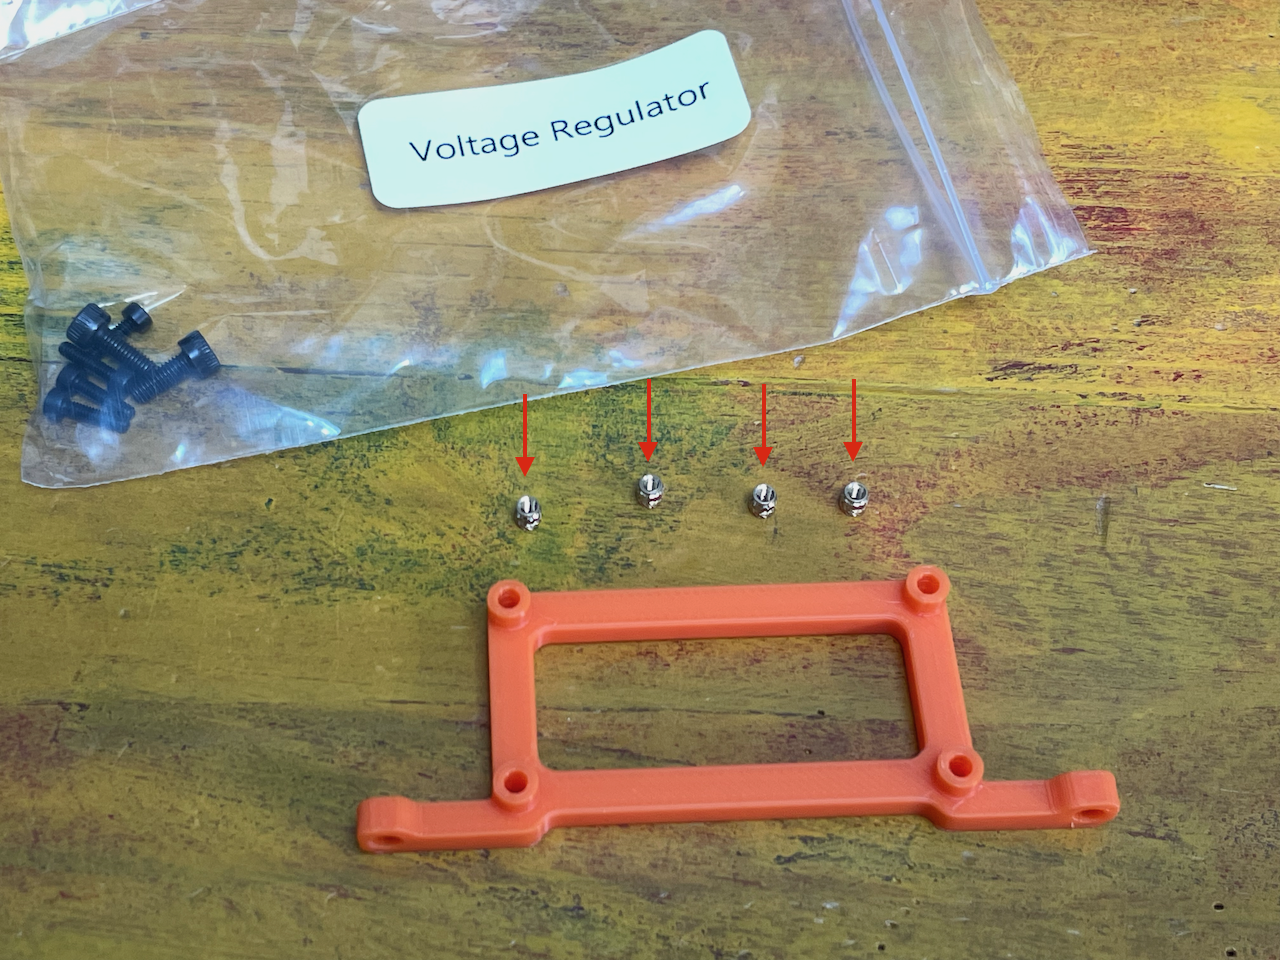
-
Place the inserts and heat insert them with the iron as done before
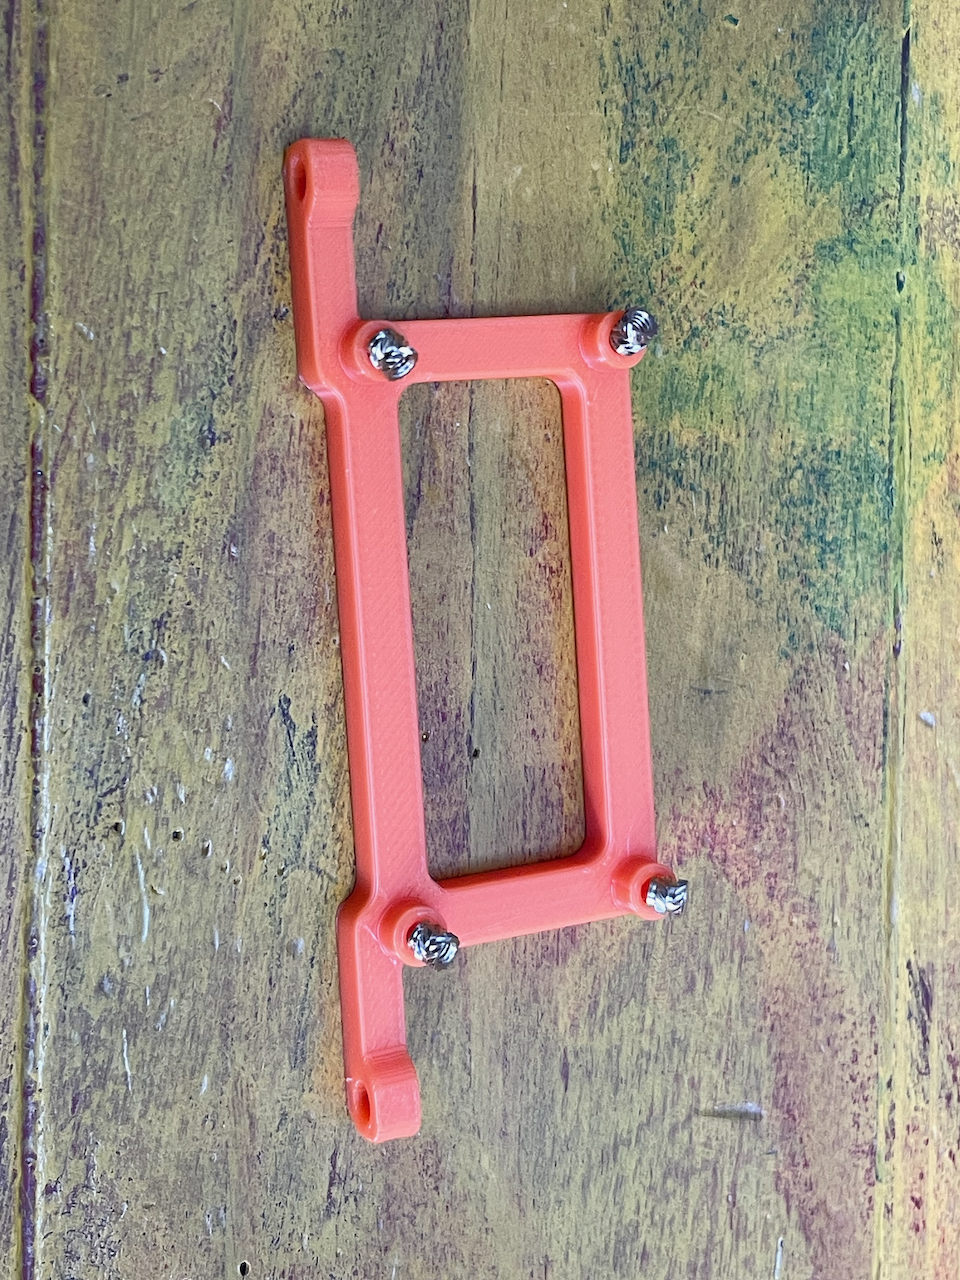
-
Set the parts aside for final assembly later
Cover Inserts
- Soldering iron/station ready using the same parameters
-
Grab the 4x M3 inserts from the
Coverbag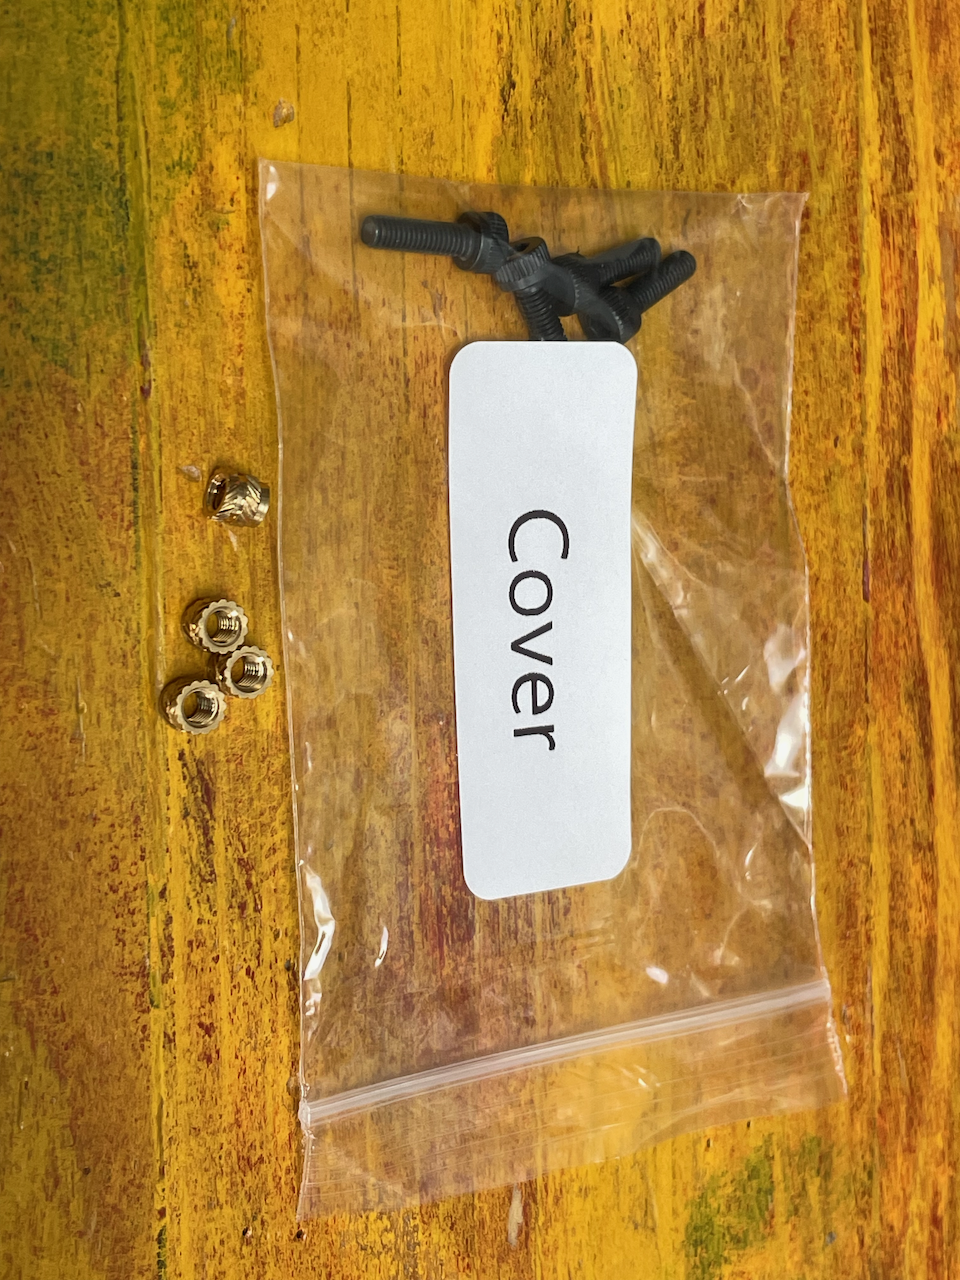
-
Place the inserts and heat insert them with the iron as done before

-
Set aside the parts for final assembly later.

Next Steps
At this point, your kit is pre-assembled and ready to receive the electronics for final assembly.
Go on to the next chapter for the steps to finalize your kit.