Installing on the Aircraft
Mounting the Rails on the Aircraft
Grab the rails and the hardware associated with it (is labelled accordingly)
Using one M3x15 screw and one of the front spacers (the longest one) attach the rails with the flat piece facing forward:
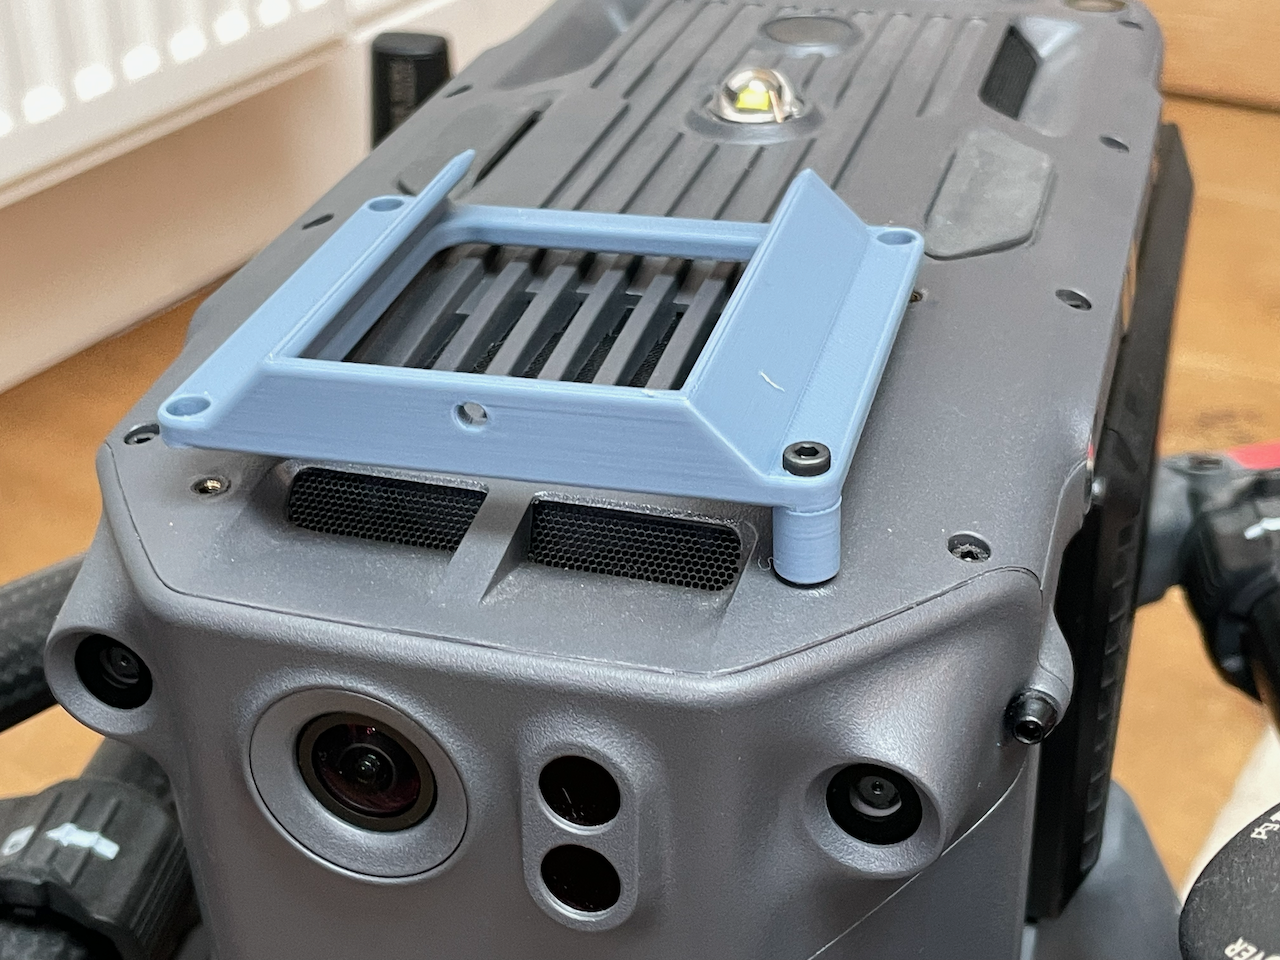
Note
Make sure not to fully tighten it, it will make it harder to install the other spacers and screws.
Continue by installing the other front screw in the same way and install the back spacer using the provided M3x10mm screws.
Once all are place, tighten all screws:
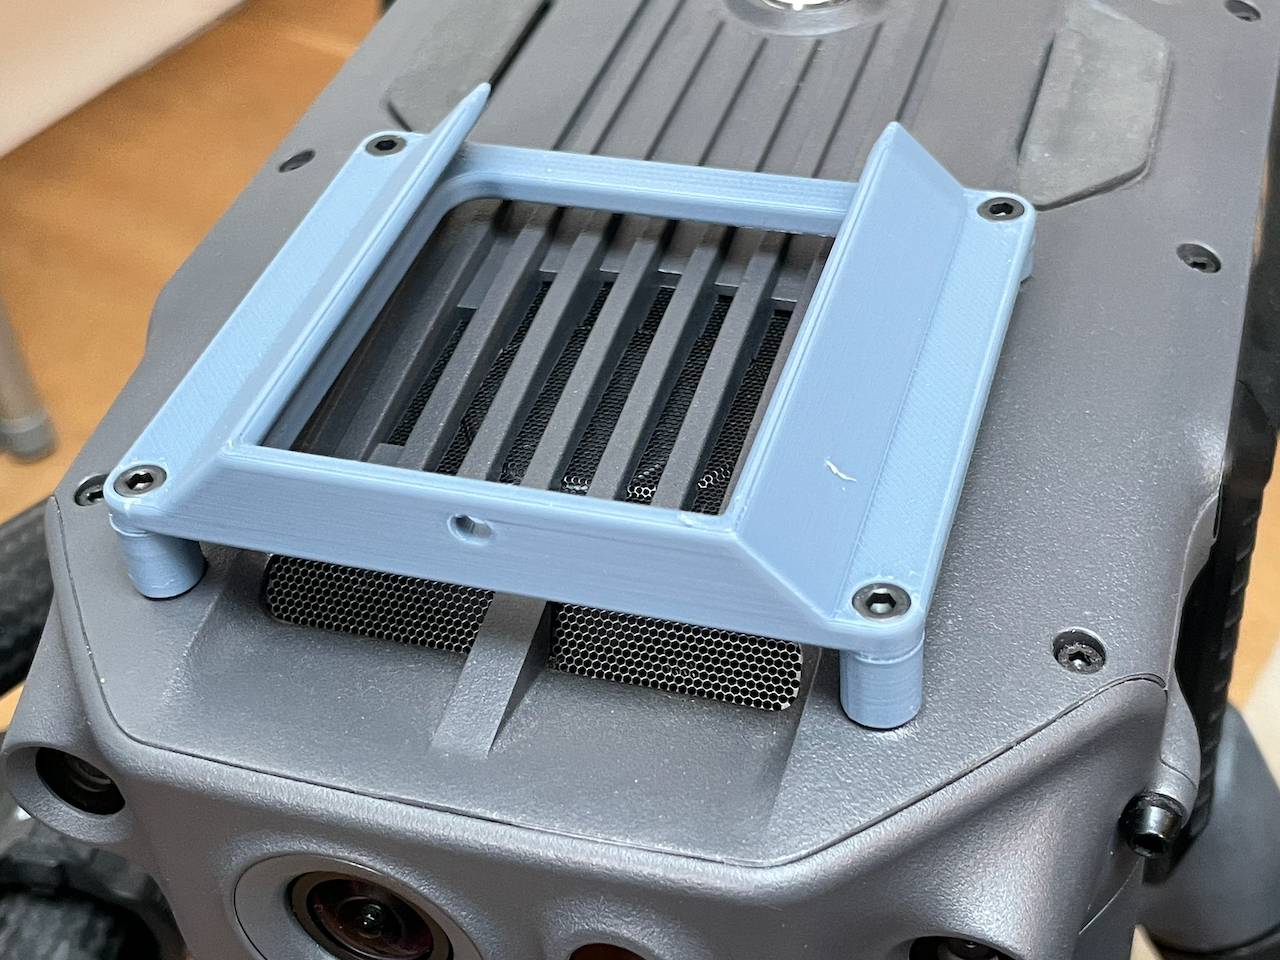
At this point, your aircraft is ready to receive the kit.
Installing the Kit on the Rails
These steps can be repeated at any deployment as the kit is designed to be removed and packed after each flight.
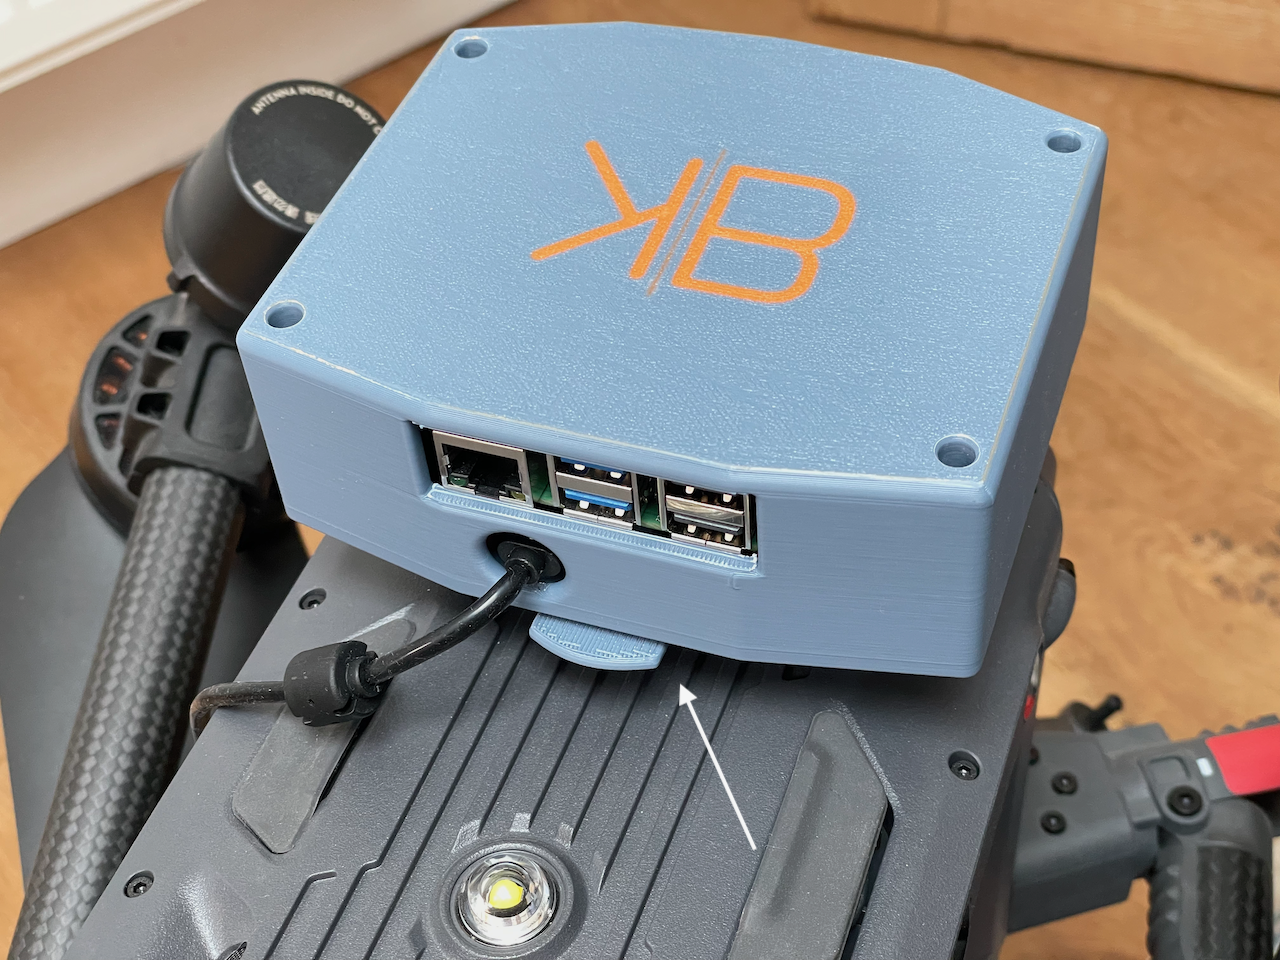
Place the kit on the rails.
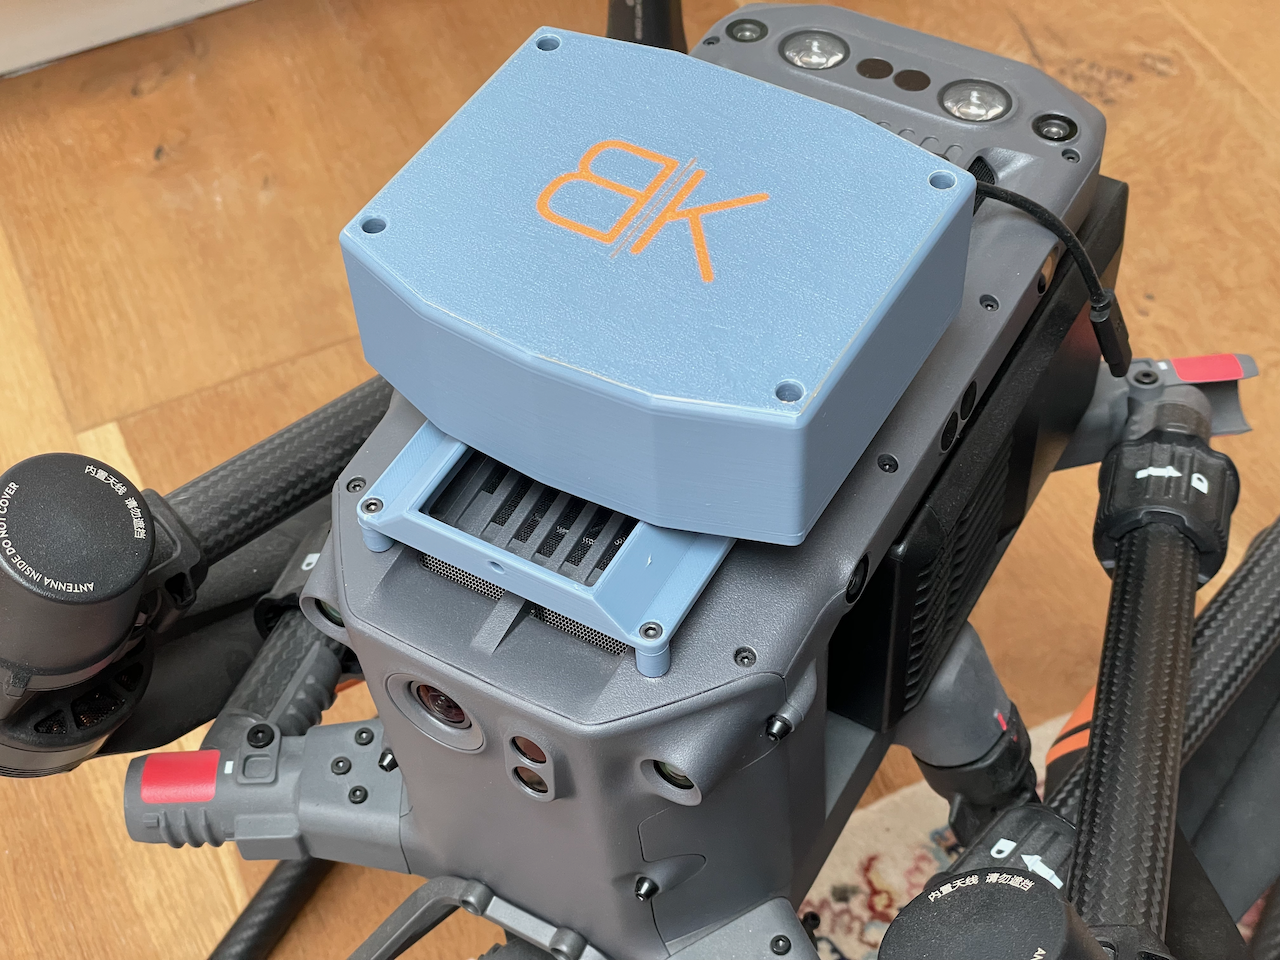
Push it fully until you hear a click.
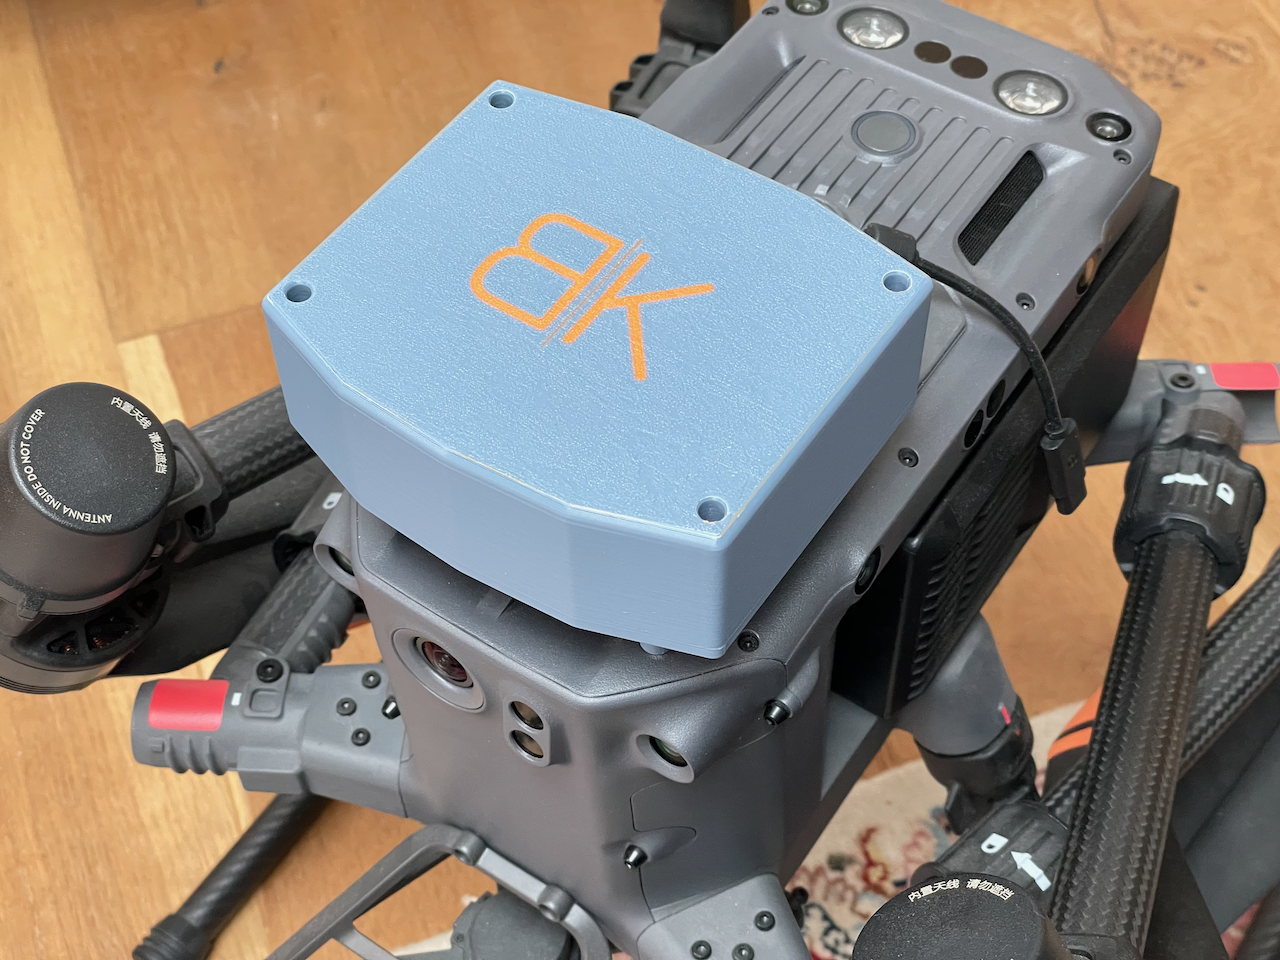
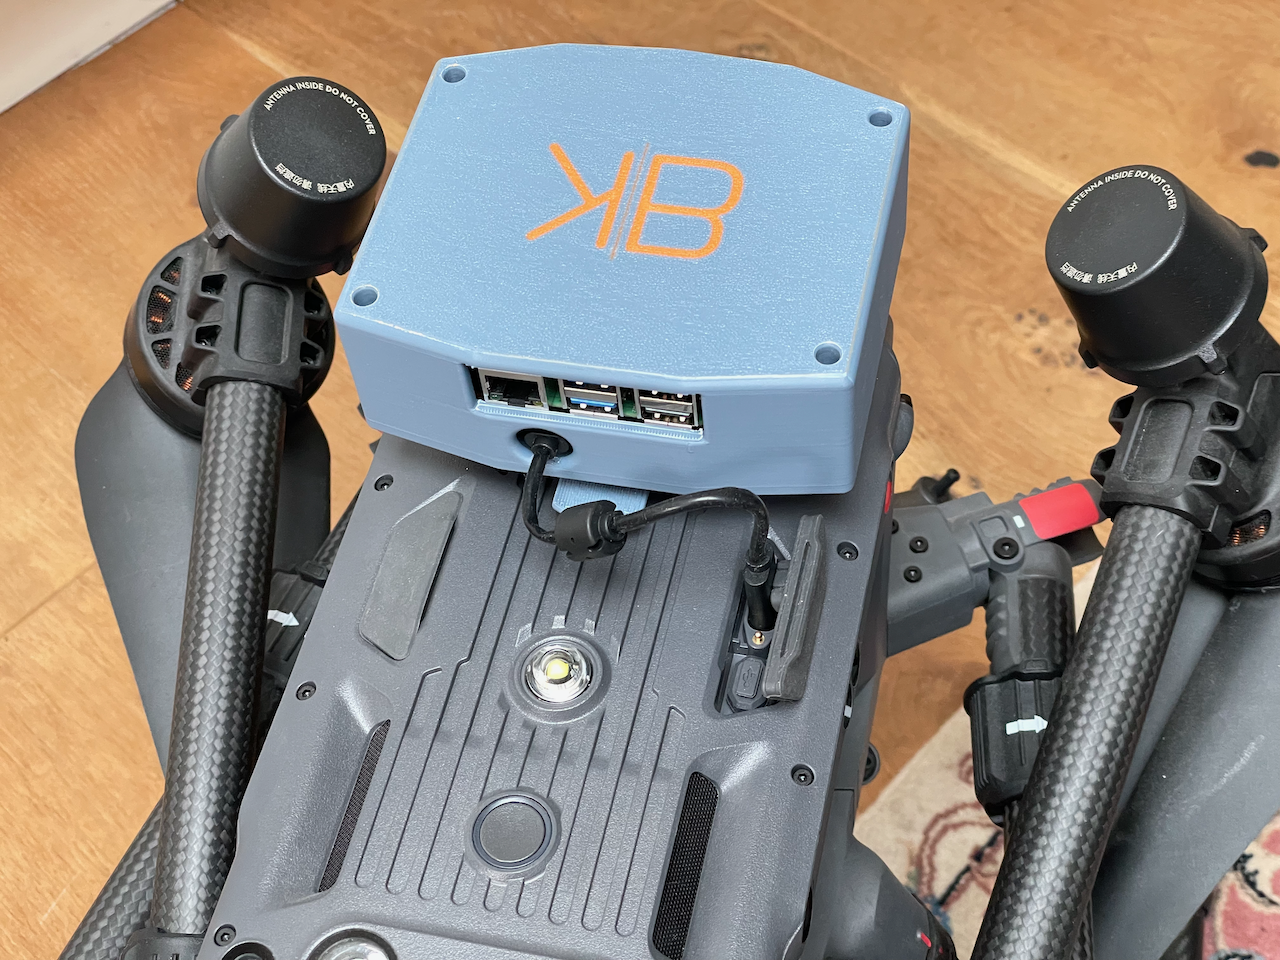
Make sure it's fully seated:
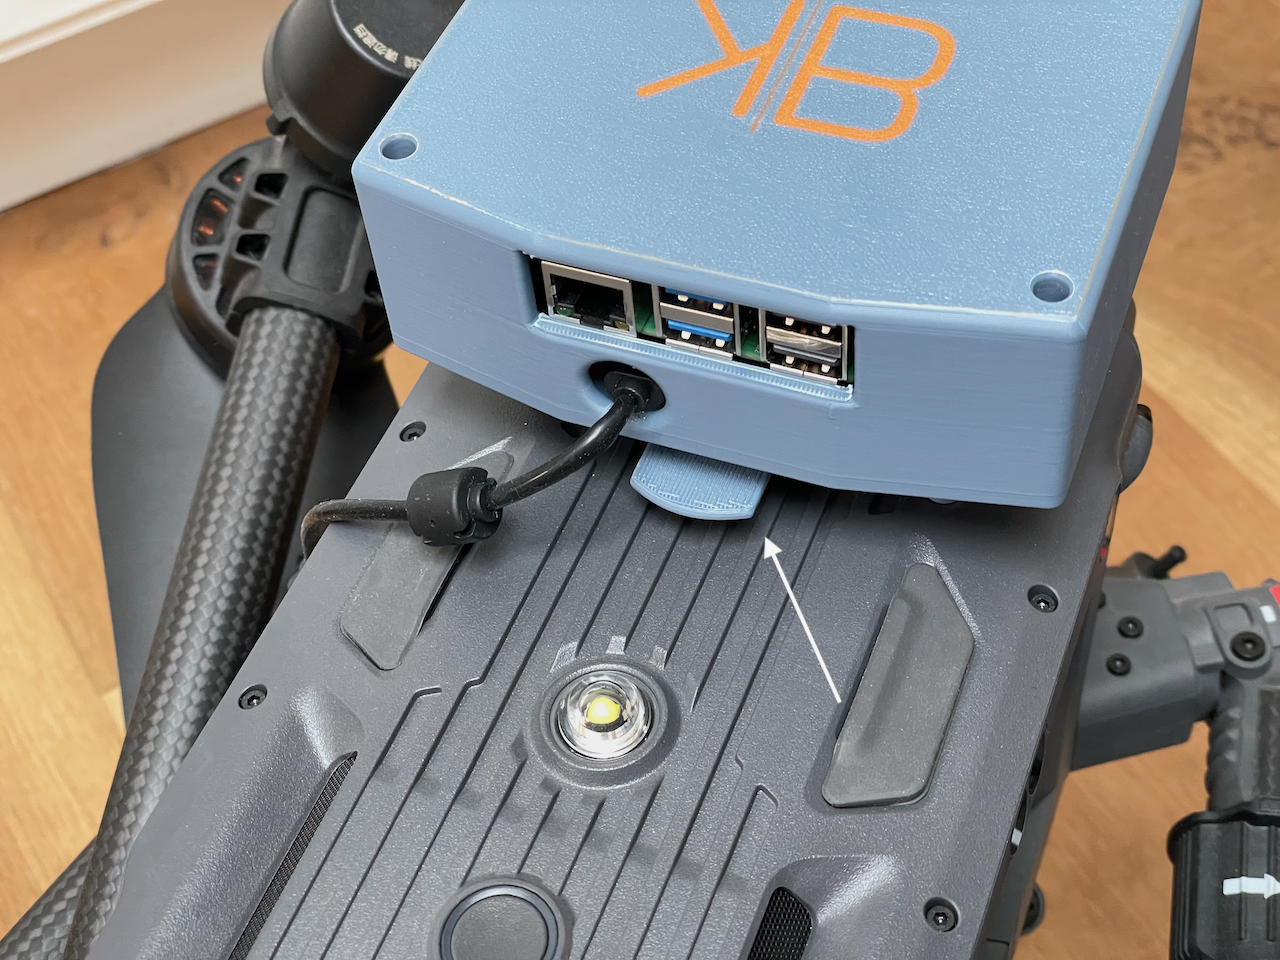
If you see the tab up, it's not fully seated.
Note
Optionally, use the screw from the rails to secure it.
Plug the cable to the aircraft.
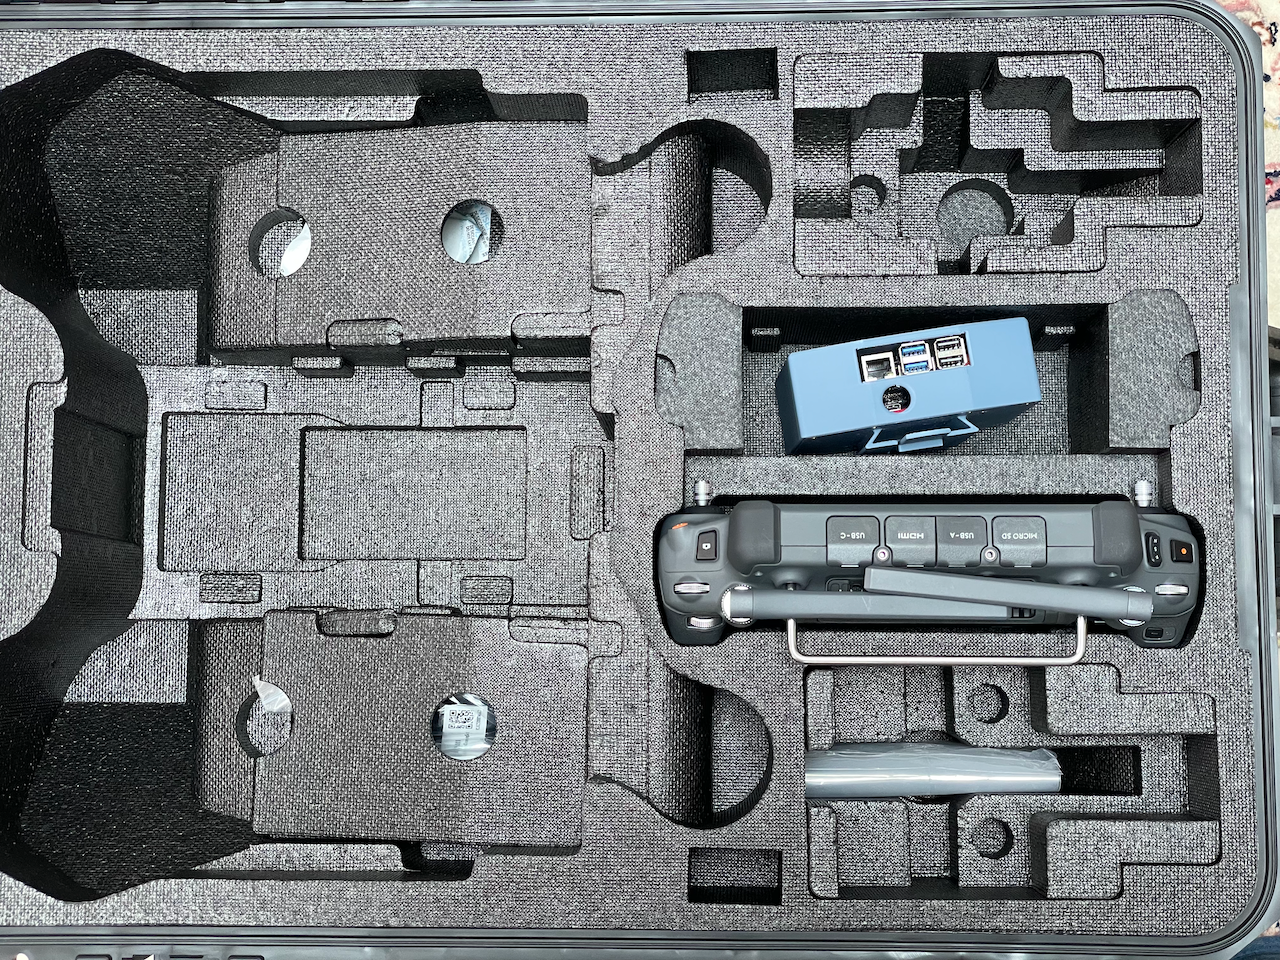
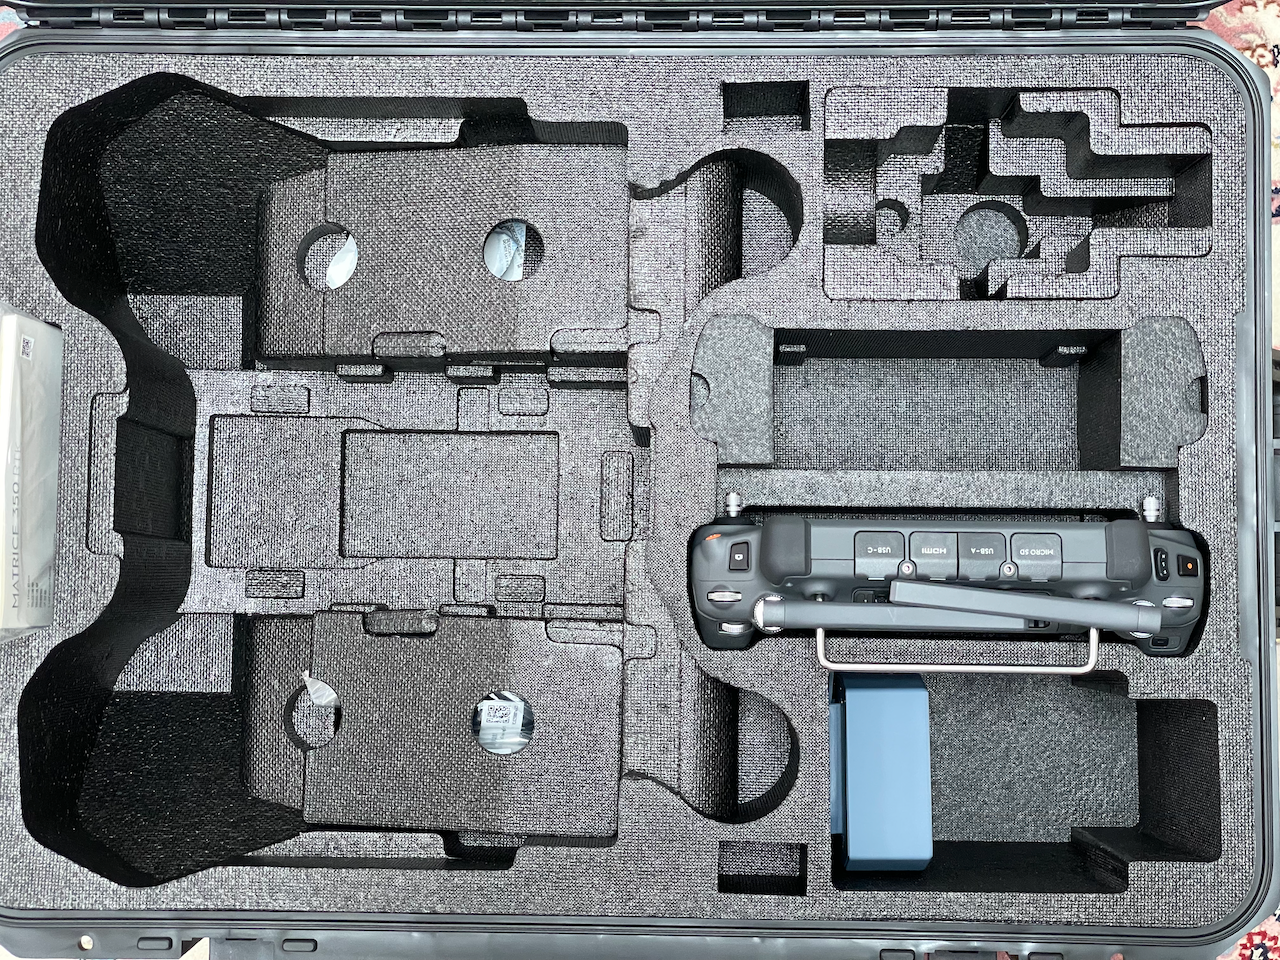
Storing the Kit in the M350 Case
The kit is small enough to fit in many of the existing cutouts in the case:
Uninstall the Kit
To uninstall, simply follow the installation steps in reverse:
- Unplug the cable from the aircraft
- (Optional) Unscrew the screw if used
- Pull the tab up
- Pull the kit out of the slide.